
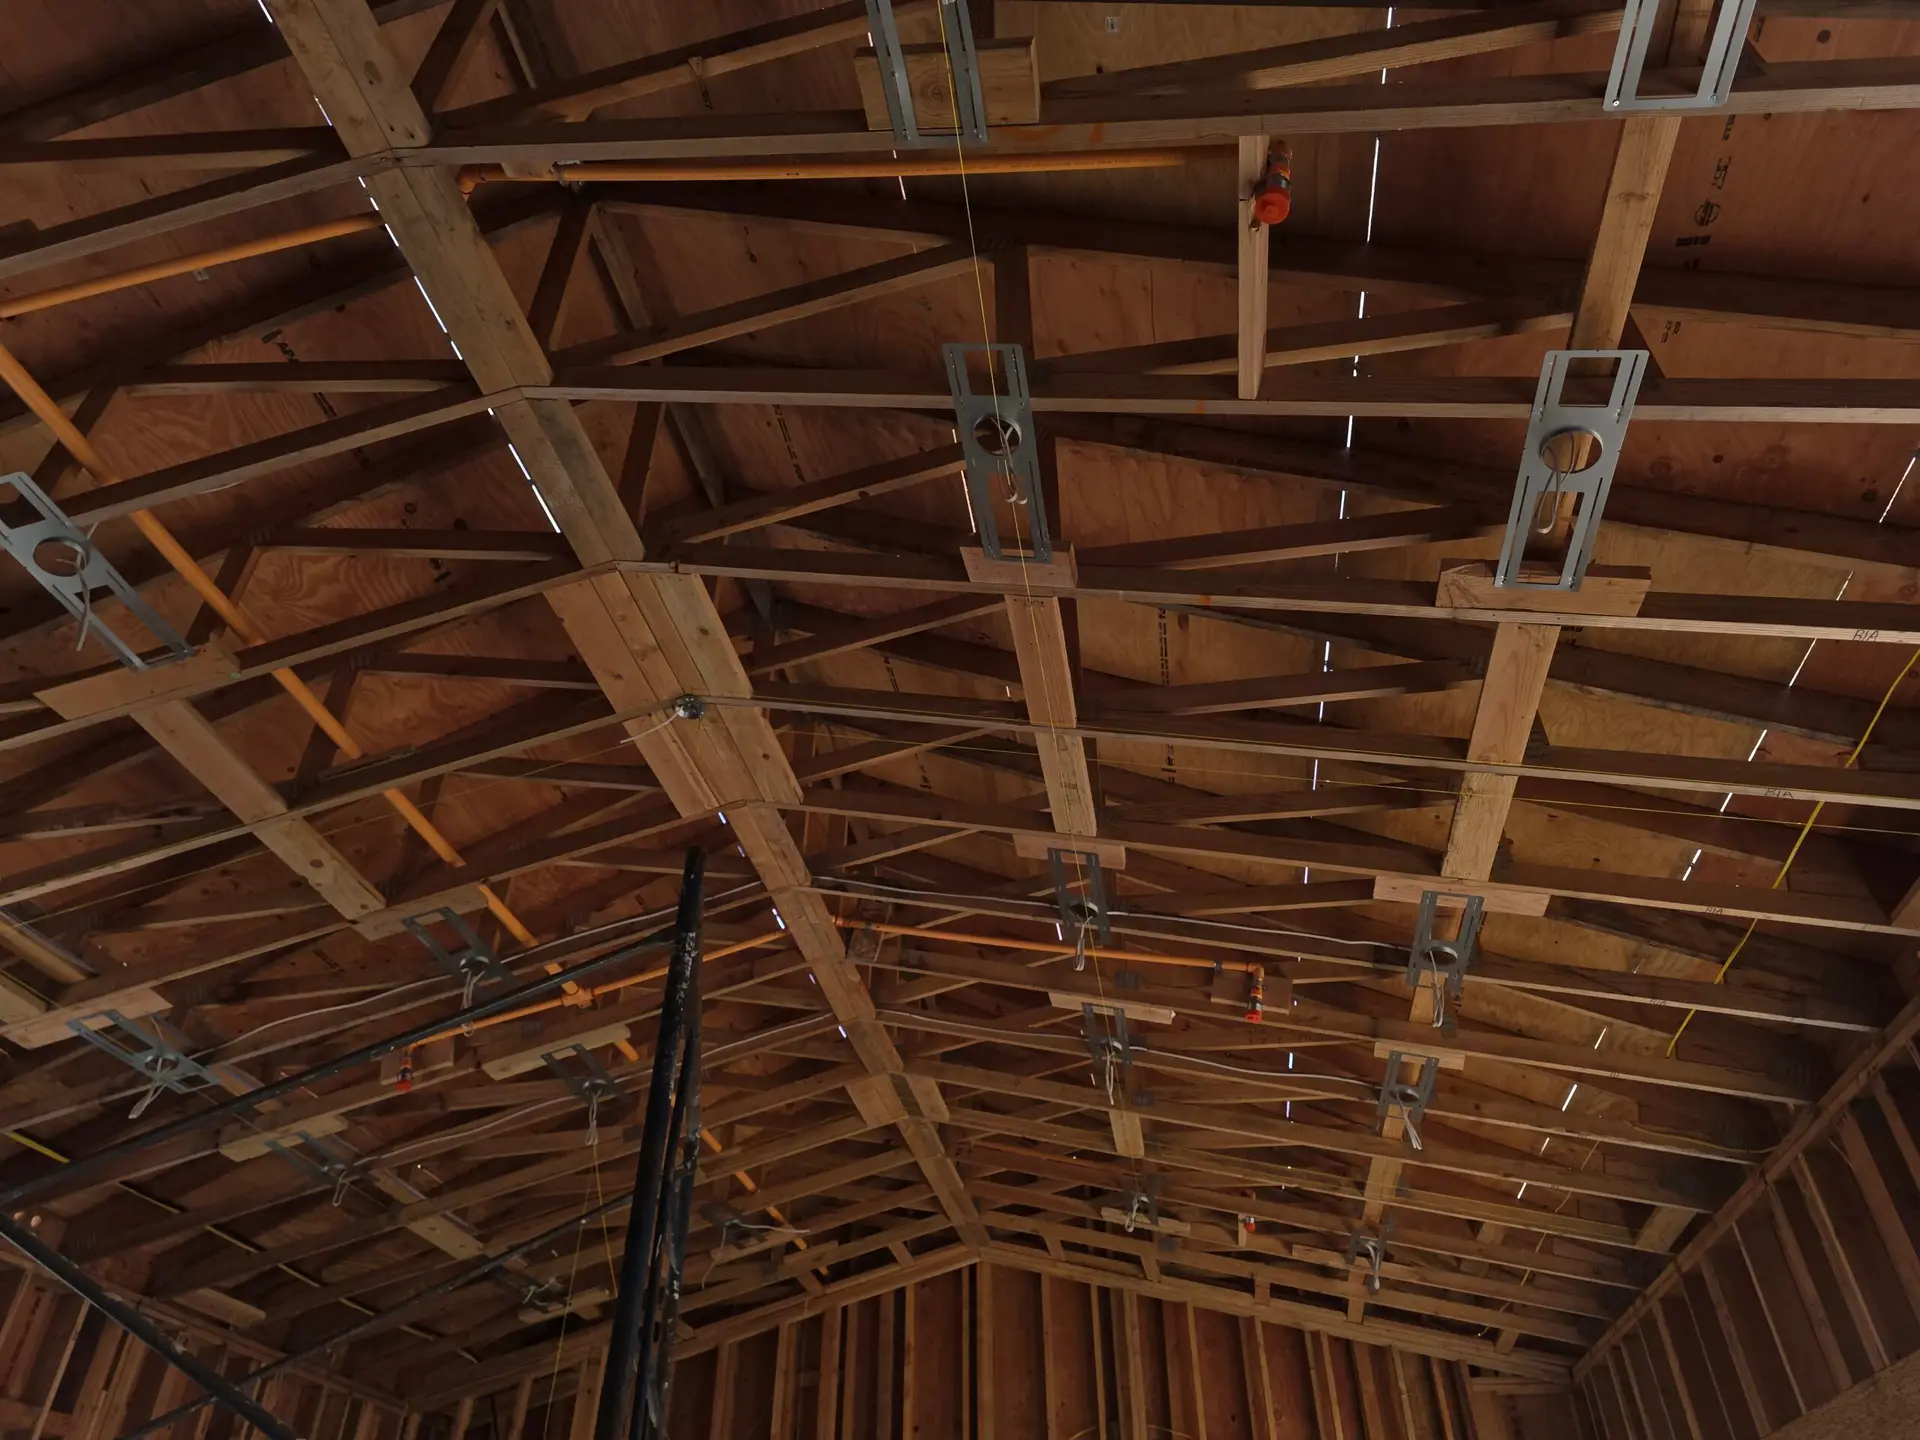
After twenty years of sweating in 130-degree attics and ripping out failed, moldy DIY projects, I can tell you that insulating directly under your roof deck is a completely different beast than rolling fiberglass on the floor. When you decide to move your thermal boundary up to the roof line, you are fundamentally altering the building science of your home. Get it right, and you transform a sweltering, useless cavern into a climate-controlled storage haven that slashes your HVAC bills. Get it wrong, and you will trap moisture, rot your plywood decking, and void your roof’s warranty. If you are researching how to insulate an attic roof rafters, you need to throw away the generic advice. Today, I am giving you the elite, step-by-step veteran breakdown on US building codes, material selection, and the exact sequence of operations required to do this flawlessly.
Why should you insulate attic roof rafters instead of the floor?
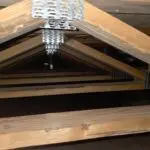
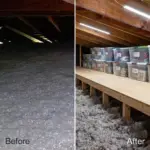
You should insulate roof rafters instead of the floor to create a conditioned, climate-controlled space that protects delicate HVAC ductwork and allows for safe, usable attic storage. In a standard US home, the attic floor is insulated, leaving the actual attic space completely exposed to extreme exterior temperatures. If your HVAC unit and flexible ductwork run through this unconditioned space, you are losing up to 20% of your energy efficiency just to radiant heat transfer. By moving the insulation to the roof rafters, you bring the entire attic into the thermal envelope of the house. This makes the space perfect for building a storage gallery without worrying about extreme heat destroying your belongings, and it drastically reduces the workload on your air conditioning compressor.
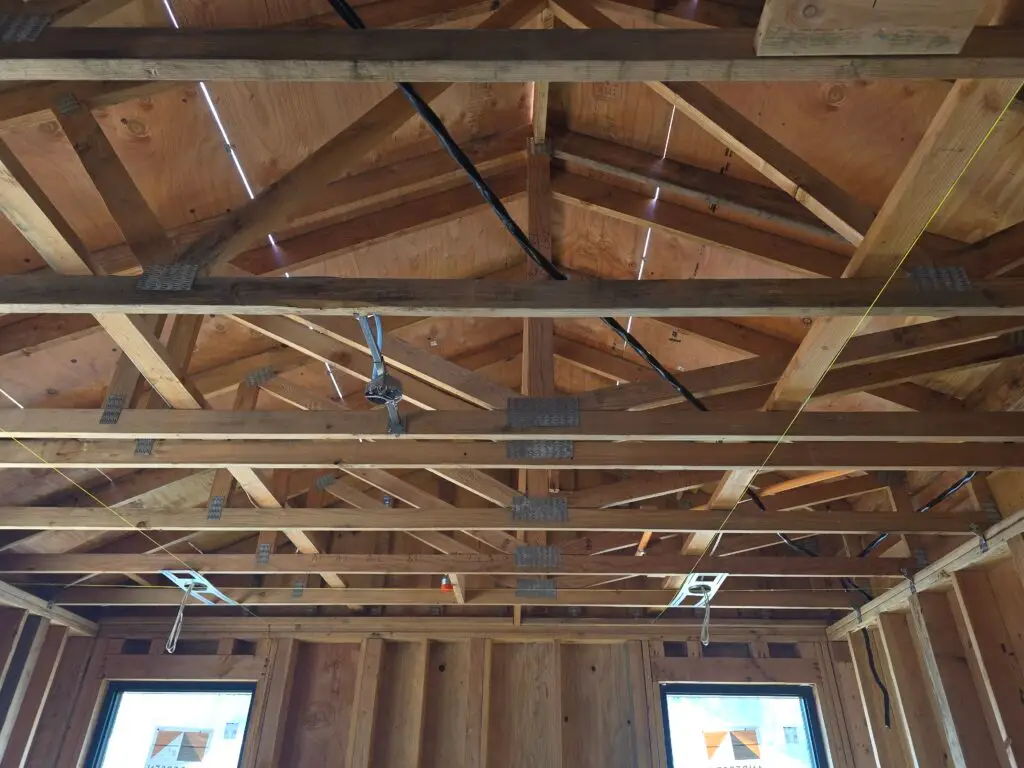
What are the best materials to insulate roof rafters?
The best materials to insulate roof rafters are closed-cell spray foam for maximum airtightness, or high-density fiberglass batts paired with rigid foam boards for budget-conscious DIYers. Picking the right material is the most important decision you will make. It dictates your budget, your timeline, and your moisture control strategy. To help you choose the best insulation for attic ceiling and rafter bays, we need to break down the specific characteristics of each option.
Is spray foam the ultimate solution for vaulted ceilings?
Closed-cell spray polyurethane foam (SPF) is the undisputed king of rafter insulation. It acts as an insulation, an air barrier, and a vapor retarder all in one application. Because it adheres directly to the underside of the roof decking, it prevents warm, moist air from condensing on the cold wood in the winter. It also adds significant structural rigidity to your roof assembly, which is a massive bonus in high-wind regions. However, it requires expensive specialized equipment and a professional installer.
Can fiberglass batts work if installed correctly?
Yes, standard fiberglass batts (like R-30 or R-38) can work, but they are unforgiving if you make a mistake. Fiberglass does not stop air movement. If you simply shove fiberglass into a rafter bay, the hot air rising from your house will hit the cold roof deck, create condensation, and turn your fiberglass into a soggy, moldy sponge. If you use fiberglass, you must install a continuous, airtight vapor barrier over the face of the rafters to meet strict International Residential Code (IRC) standards.
What about rigid foam boards for DIYers?
Extruded polystyrene (XPS) or polyisocyanurate (Polyiso) rigid foam boards are fantastic for DIYers who want high R-value without the mess of spray foam. You can cut these panels to pressure-fit between the rafters and seal the edges with canned expanding foam. It takes time and patience, but it provides incredible thermal resistance and a solid moisture barrier.
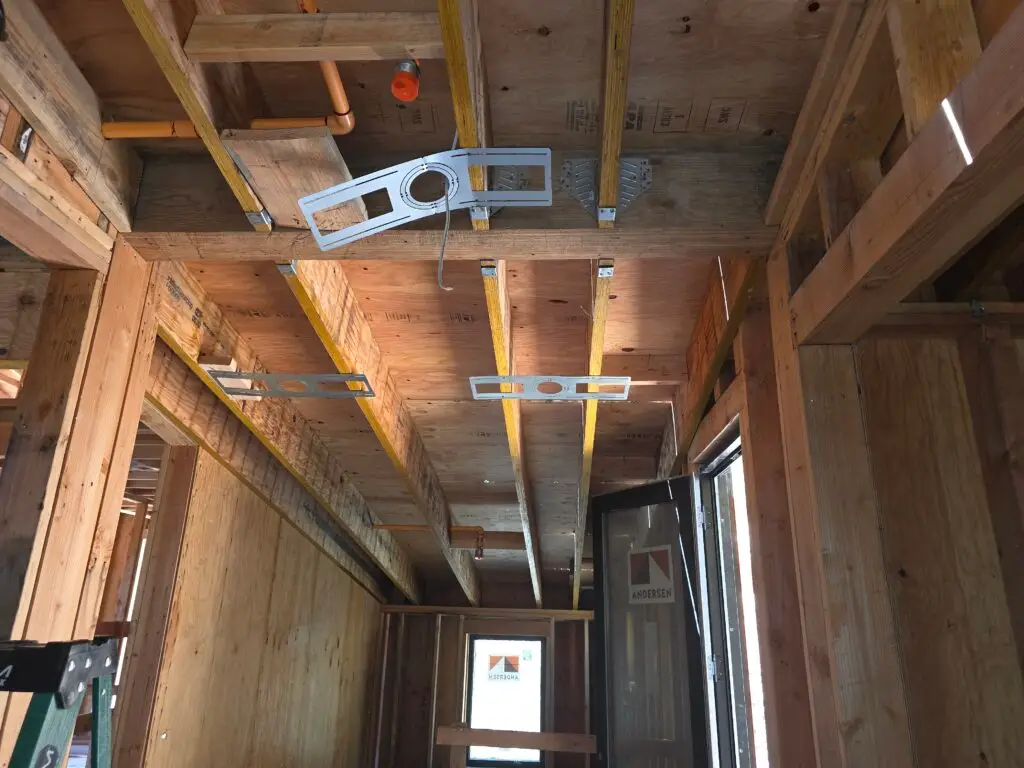
Do you need ventilation baffles when insulating rafters?
Yes, you absolutely must install ventilation baffles before adding fiberglass or rigid foam to maintain critical airflow from the soffits to the ridge vents. Unless you are spraying closed-cell foam directly onto the decking (creating an unvented assembly), your roof needs to breathe. Asphalt shingles get incredibly hot. If you cram insulation directly against the roof deck, you block the airflow coming from the soffit vents at the eaves. This bakes your shingles from the inside out, destroying them in half their normal lifespan, and creates ice dams in the winter. Baffles (or rafter vents) are inexpensive plastic or foam channels that you staple directly to the roof deck between the rafters, creating a mandatory 1-inch to 2-inch air chute for continuous ventilation.
How to insulate an attic roof rafters step by step?
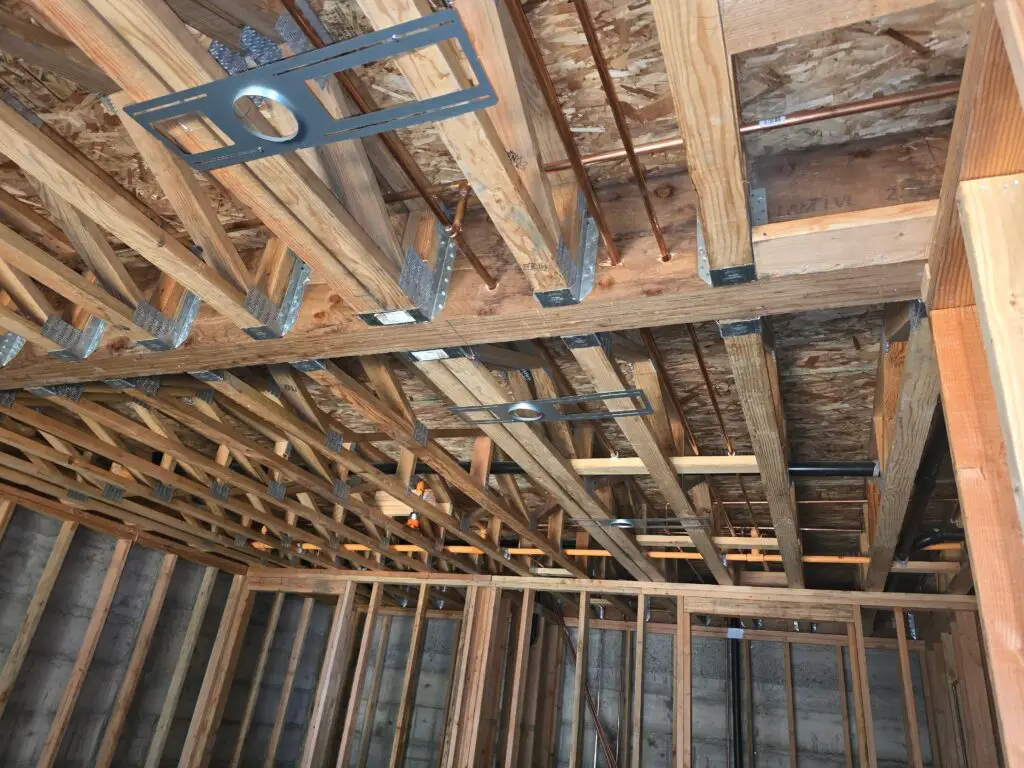
To insulate an attic roof rafters step by step, you must measure the bays, install ventilation channels, cut the insulation for a tight friction fit, and staple a continuous vapor barrier. Do not skip steps. Building science dictates that the order of operations is just as important as the materials you buy. Here is how the pros execute a flawless fiberglass or rigid board installation:
Step 1: How do you prep and air seal the rafter bays?
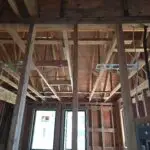
Before you add any material, clean the bays. Remove old nails and cobwebs. Put on a P100 respirator and use a high-quality foam dispensing gun with fire-blocking polyurethane foam to seal every single gap where the roof deck meets the top plates of the exterior walls. Air sealing is non-negotiable.
Step 2: How do you install ventilation baffles properly?
Slide your plastic baffles down all the way into the soffit eaves. Ensure they are not crushed and that daylight/air can pass freely. Staple them to the underside of the roof decking. Overlap them slightly as you work your way up to the ridge vent at the peak of the roof.
Step 3: What is the correct way to cut and fit the insulation?
Measure the width of your rafter bays—most are 16 or 24 inches on center. If using fiberglass, ensure the batts are unfaced (no paper backing yet) and press them gently into the bay without compressing them. Crushing fiberglass ruins its R-value. If using rigid foam, cut the boards 1/2-inch narrower than the bay, press them in, and seal the entire perimeter of the board with canned spray foam.
Step 4: How do you seal the vapor barrier to meet US codes?
If you used fiberglass, you must now create an air and moisture barrier. Staple a 6-mil polyethylene plastic sheet (Class I vapor retarder) horizontally across the face of the rafters. Tape every single seam with acoustic sealant or specialized Tyvek tape. Any hole in this plastic will act as a funnel for moisture.
DIY vs Professional: Which route is actually safer and smarter?
Hiring a professional is safer and smarter for spray foam applications, but skilled DIYers can successfully install rigid foam or fiberglass if they strictly follow IRC ventilation codes. To help you decide, I have created a detailed breakdown of your options based on performance, cost, and risk.
| Installation Strategy | Major Pros & Advantages | Major Cons & Risks | Best Use Case |
|---|---|---|---|
| DIY Fiberglass Batts & Baffles | Cheapest option upfront. Materials are easily available at big box stores. Good thermal performance if sealed perfectly. | Extremely high risk of trapping moisture if the vapor barrier is not 100% airtight. Fiberglass is itchy and hazardous to handle. | Homeowners on a strict budget who are meticulous about detailing and air sealing. |
| DIY Rigid Foam Boards | Excellent moisture resistance. High R-value per inch. Will not sag or settle over time. | Very time-consuming to cut every board to fit perfectly. Requires cases of canned foam to seal the edges properly. | Advanced DIYers looking for a premium, long-lasting result without paying for a spray rig. |
| Professional Closed-Cell Spray Foam | Ultimate thermal and air seal. Adds structural strength to the roof. Prevents condensation completely (unvented assembly). | Highest upfront cost. Requires vacating the home for 24 hours during curing to avoid toxic off-gassing. | Homeowners who want a permanent, zero-maintenance solution and a perfectly conditioned attic space. |
Veteran Insider Tip: If you are doing this yourself, do not buy faced insulation (the kind with the kraft paper attached). The paper flanges are almost impossible to staple perfectly airtight. Buy unfaced batts, and install a continuous 6-mil poly sheet over the whole ceiling. It is faster, significantly more airtight, and passes US building inspections much easier.
Can rafter insulation trap moisture and cause roof rot?
Yes, rafter insulation can rapidly trap moisture and rot your roof decking if you accidentally block the soffit vents or fail to install a proper Class I or II vapor retarder. This is the number one reason I get called for expensive tear-outs. If hot, humid air from your bathrooms or kitchen bypasses the vapor barrier and hits the cold underside of the roof deck, it turns back into liquid water. Because the insulation is packed tightly, this water cannot evaporate. Within six months, your OSB decking will turn black with mold and begin to delaminate, requiring a complete roof replacement.
How does sealing your roof affect home exhaust appliances?
Sealing your roof creates a significantly tighter home envelope, meaning your mechanical exhaust appliances must work flawlessly to push hazardous moisture and heat completely outside. When you seal the rafter bays, your attic can no longer act as a giant, drafty vent for your house. You have put a tight lid on the building. This means if you have a bathroom fan or a clothes dryer that has a tiny leak or a sluggish exhaust line, that moisture has nowhere to go and will back up into the living space. Because a tightly insulated home relies 100% on mechanical ventilation, you cannot ignore your appliances. Whether you are tackling this roof project yourself or having the experts at Miller Attics handle the heavy lifting, ensuring your home breathes properly is the final step to keeping your new roof assembly completely safe, efficient, and dry.