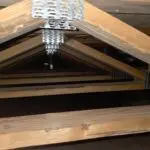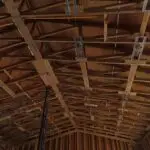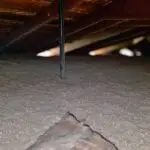

Stop doing the tightrope walk across your ceiling joists every December just to retrieve your holiday decorations. I have spent over twenty years in the home performance industry, and I cannot tell you how many times I have seen homeowners plunge a foot right through their living room ceiling because they tried to balance a heavy box on bare drywall. Upgrading your raw, dusty rafter space into a functional, highly organized zone is a massive lifestyle upgrade. But you cannot just slap down some cheap plywood and call it a day. Under the International Residential Code (IRC), you must account for dead loads, ventilation clearances, and wire routing. Today, I am going to break down the exact attic storage renovation cost, lay out three killer design ideas you never thought of, and show you how to build a space that adds serious value to your home without violating US building codes.
What is the true attic storage renovation cost right now?
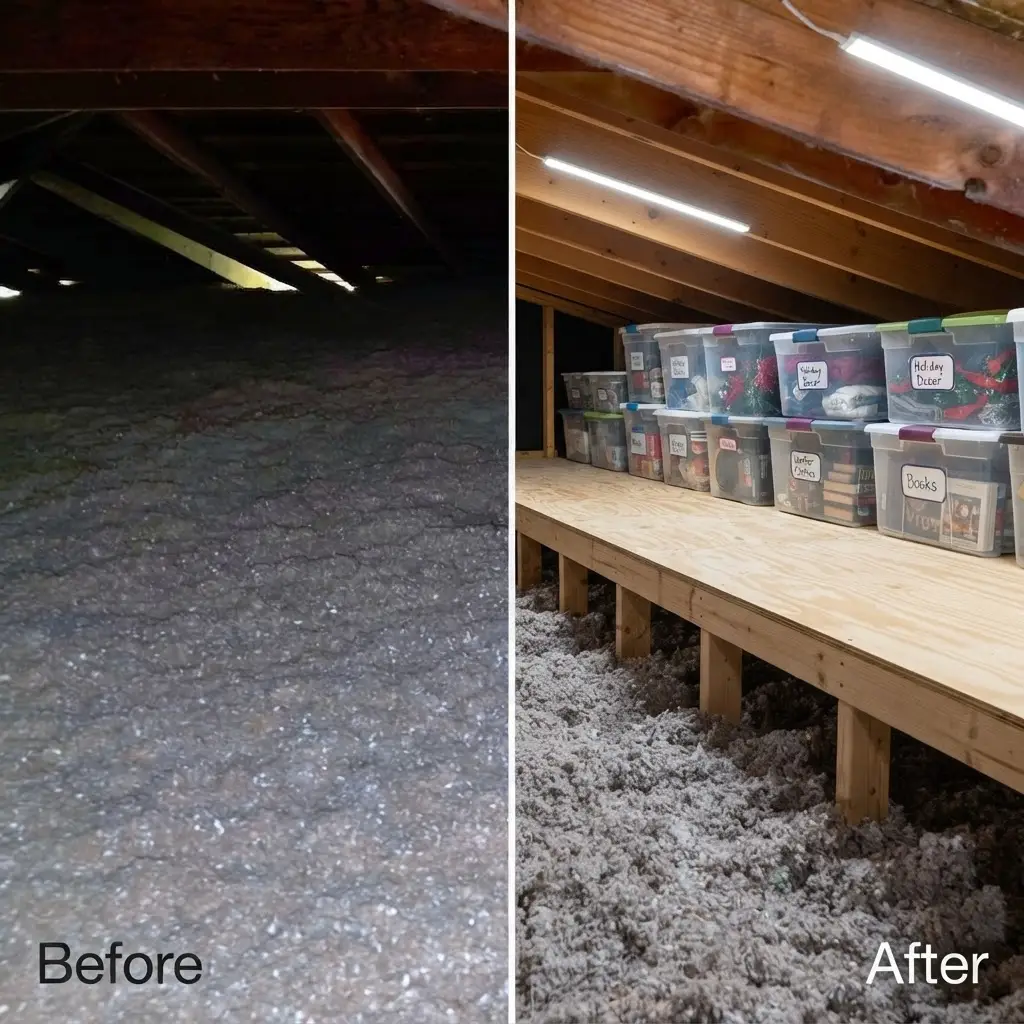
The true attic storage renovation cost ranges from $500 for basic structural decking to over $4,500 for a fully enclosed, climate-controlled storage room. If you just need a 10×10 platform to throw plastic bins on, you are looking at the cost of 5/8-inch OSB (Oriented Strand Board), specialized raised flooring legs, and a weekend of sweat equity. But if you want to do this right—creating a clean environment that won’t ruin your family heirlooms—you are moving into custom carpentry. A professional job involves elevating the new floor deck above the existing insulation so you do not crush it. Crushing your fiberglass or cellulose drops its R-value instantly, skyrocketing your winter heating bills.
| Renovation Tier | Estimated Cost | What You Get (Pro Standards) |
|---|---|---|
| Basic Platform Decking | $500 – $900 | Elevated OSB panels installed over trusses, no crushed insulation. Good for plastic bins. |
| Advanced Truss Shelving | $1,200 – $2,500 | Custom-built vertical shelves mounted directly to roof rafters. Maximizes floor space. |
| “The Vault” (Climate-Controlled) | $3,500 – $5,000+ | Fully air-sealed, insulated walls, lighting, and dust-proof access. Protects antiques/clothing. |
Insider’s Tip: Never screw plywood directly flat onto your ceiling joists if you have thick insulation! Instead, buy “attic decking squares” or build a perpendicular sleeper system out of 2x4s. This raises your new floor above the insulation, preserving your home’s thermal envelope and saving you hundreds on energy bills.
What are 3 cool design ideas for a renovated attic space?
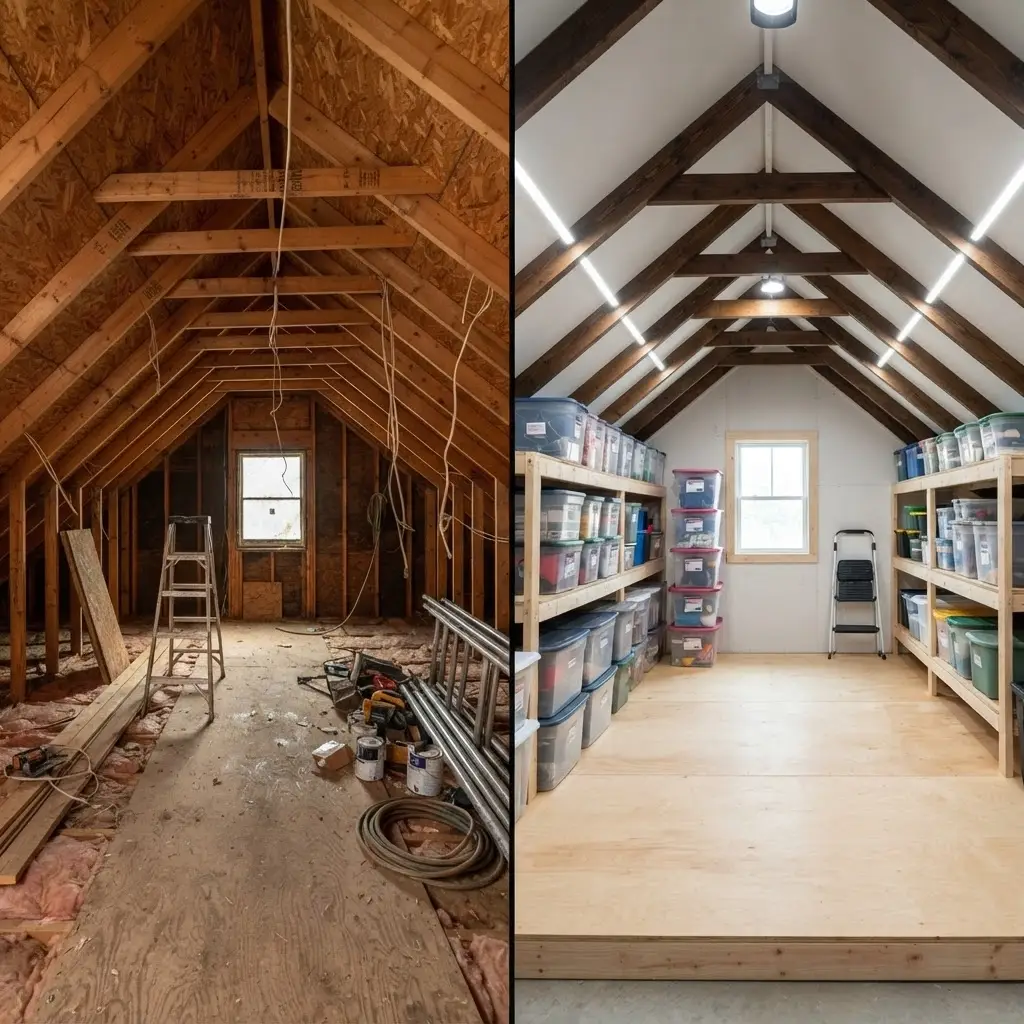
Three cool design ideas include building a dust-proof holiday decoration vault, constructing a cedar-lined winter clothing closet, and designing an elevated hobby display zone. You do not have to settle for a dark, creepy cave. Let’s get creative. First, **The Holiday Vault**: Instead of tossing random boxes, build custom slide-out rails between the vertical roof trusses specifically sized for heavy-duty plastic totes. It keeps the floor completely clear. Second, **The Cedar Wardrobe**: Attics get hot, but if you insulate a small 6×6 framed box and line the interior with aromatic cedar planks, you create a pest-proof, moisture-controlled closet perfect for safely storing expensive winter coats and vintage clothes. Third, **The Elevated Hobby Zone**: If your IRC joist load limits permit it (you need to support a minimum of 30-40 psf for live loads), throw down some interlocking foam gym mats over your decking, add some plug-in LED shop lights, and build a dedicated layout table for model trains, Lego builds, or a sewing cutting station away from the chaos of the main house.
- Check the Load: Not all ceilings are framed to hold weight. Have a structural engineer or veteran framer verify your joists can handle a 20 psf storage load.
- Don’t Crush Wires: Never staple or smash Romex electrical wires under your new plywood floor. Route them through code-approved conduit or notch your sleeper joists.
- Light it Up: Install hardwired, IC-rated LED lighting. Flashlights lead to tripping hazards, and tripping in an attic leads to falling through the drywall.
How does proper preparation prevent costly renovation disasters?
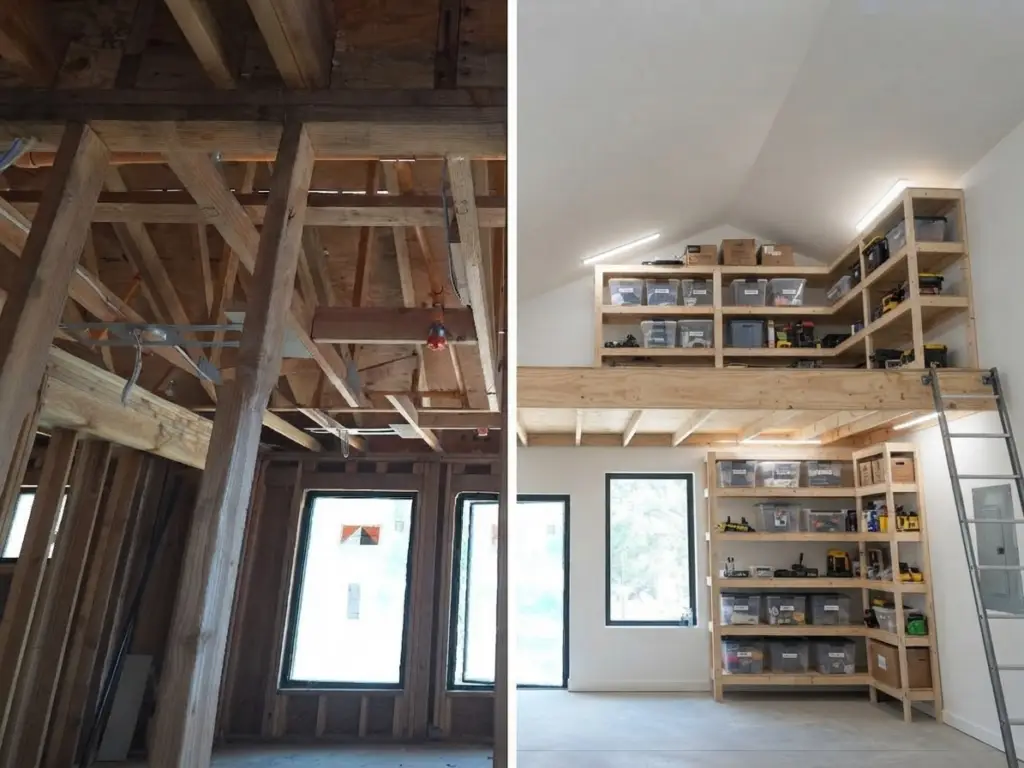
Proper preparation prevents disasters because throwing plywood over raw trusses without professional sanitation traps toxic rodent droppings and suffocates critical electrical wiring. I see ambitious DIYers make this mistake every spring. They buy a stack of lumber, drag it upstairs, and build a floor directly over twenty years of accumulated bat guano, rat urine, and filthy fiberglass. Once you screw that floor down, that biohazard is trapped in your home’s airspace forever. Before you swing a single hammer for your storage upgrade, you must clear the slate. Investing in professional attic cleaning services ensures that the space is HEPA-vacuumed, sanitized, and pest-free. Building a beautiful storage closet on top of a rodent graveyard is a recipe for terrible indoor air quality and future mold blooms.
Can a storage renovation interfere with my home’s exhaust systems?
Yes, a storage renovation can dangerously crush flexible ductwork and trap exhaust moisture if you build your new floor over active appliance vents. When you start framing out new shelving or floor joists, it is incredibly easy to accidentally pinch a flexible transition hose hiding under the old insulation. If you crush the exhaust line coming from your laundry room, you instantly choke your appliance. This forces massive amounts of heat and moisture to back up into the machine, creating a severe fire hazard. Because you are permanently altering the accessibility of the space, I always mandate that my clients pair their storage build-out with a thorough dryer vent cleaning service. It ensures that before you lock down the floorboards, your home’s mechanical exhaust is breathing perfectly, keeping your new storage room safe, dry, and up to code.