Replacing a sump pump is crucial for maintaining a dry basement and preventing water damage. In my decades of experience, I’ve seen the difference a well-chosen sump pump can make in safeguarding a home.
What Are the Signs That Your Sump Pump Needs Replacement?
The key signs your sump pump needs replacement include strange noises, excessive vibration, and constant cycling. If your pump is making grinding or rattling sounds, it’s likely that the impeller or fan has become damaged. Years ago, I encountered a pump that sounded like a freight train; upon inspection, I found debris lodged in the impeller, causing wear. Immediate replacement was essential to avoid a flooded basement.

How Do You Choose the Right Sump Pump for Your Home?
Choosing the right sump pump depends on your basement’s size, water volume, and power source. For basements prone to heavy flooding, I recommend a submersible pump with a capacity of at least 3,000 gallons per hour. Once, I installed a pump in a client’s 1,500-square-foot basement with a high water table. We opted for a 1/2 horsepower submersible model with a vertical float switch, ensuring it fit snugly in the narrow sump pit.
What Are the Costs Involved in Sump Pump Replacement?
Costs for sump pump replacement vary based on type, capacity, and installation complexity. Here’s a detailed breakdown:
| Type | Cost Range | Installation Complexity |
|---|---|---|
| Pedestal | $60 – $180 | Low |
| Submersible | $100 – $400 | Medium |
| Battery Backup | $200 – $600 | High |
To save money, consider a pedestal pump for areas with minimal water issues. However, for flood-prone areas, investing in a submersible pump with a battery backup is wise. The highest price points often include features like alarms and remote monitoring, which may not be necessary for everyone.
How Do You Replace a Sump Pump Yourself?
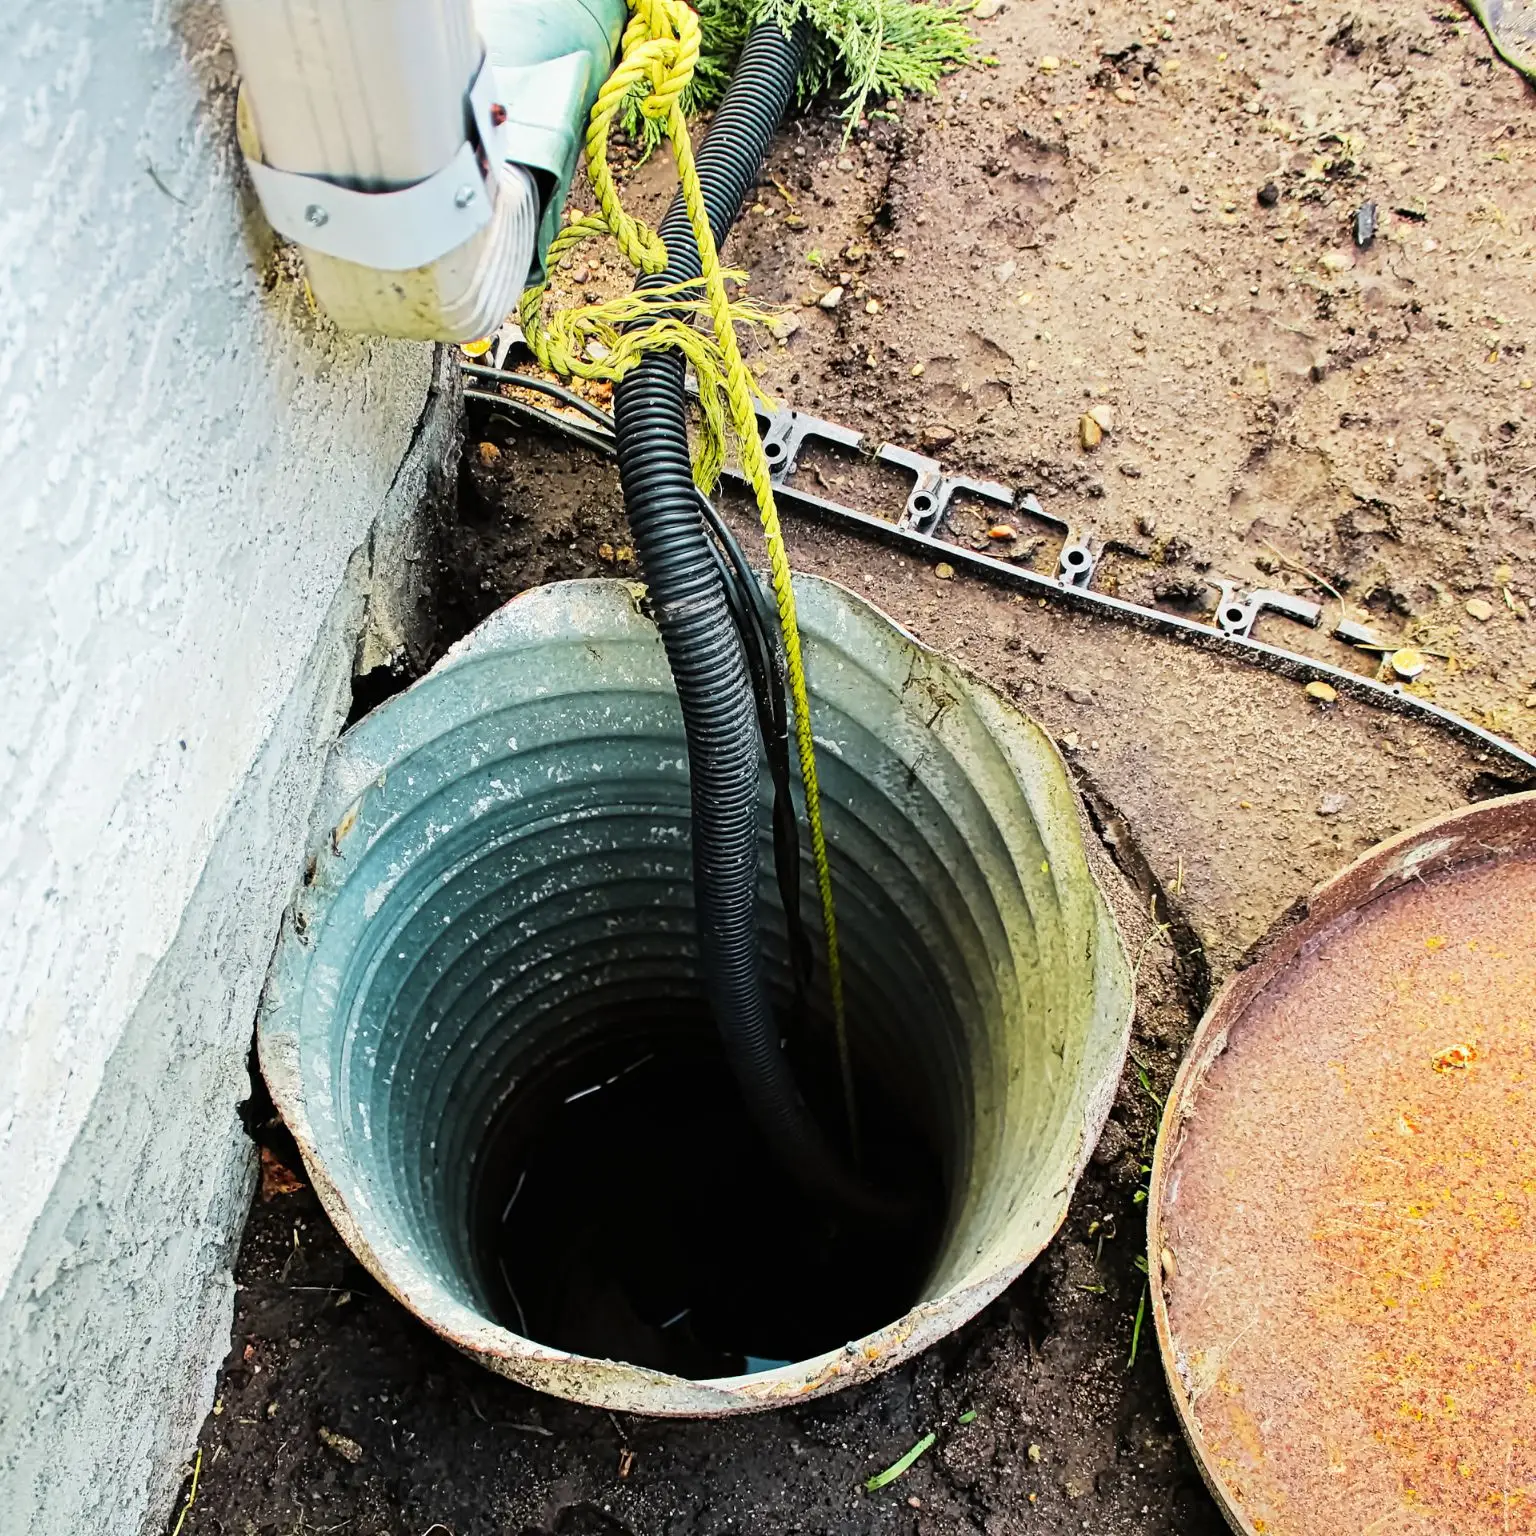
To replace a sump pump, you’ll need basic plumbing skills and a few tools. First, disconnect the power and remove the old pump. I always ensure the power is off using a multimeter. Then, measure the pit depth and diameter to select the correct pump size. Once, I had to reconfigure the discharge pipe to accommodate a new, wider pump, ensuring the check valve was positioned correctly to prevent backflow.
- Step 1: Disconnect the old pump and remove it from the pit.
- Step 2: Measure the pit to ensure compatibility with the new pump.
- Step 3: Install the new pump, securing it with proper fittings.
- Step 4: Connect the discharge pipe and check valve.
- Step 5: Test the pump by pouring water into the pit and ensuring it activates.
Always double-check connections for leaks and ensure the power source is reliable. An insider’s tip: using silicone sealant on joints can prevent future leaks and prolong pump life.
Why Is Professional Installation Sometimes Necessary?
Professional installation is crucial for complex setups or high-capacity pumps. A few years back, I handled a job where the basement had a complex drainage system. The installation required precise leveling and waterproof sealing. Professional installers like myself ensure that all components are correctly configured, reducing the risk of premature pump failure.
Additionally, pros can provide warranties on both the pump and the installation work, offering peace of mind. For intricate systems, the added cost of professional installation can save money in the long run by preventing costly water damage.
Conclusion
Sump pump replacement is a task that can prevent significant water damage when done correctly. By understanding your specific needs and selecting the right pump, you can ensure your basement stays dry and safe. Always weigh the costs and consider professional installation for complex systems to guarantee optimal performance.