Have you ever poked your head into your upper crawlspace and wondered if your home is breathing properly? Many homeowners focus entirely on packing as much fiberglass or cellulose up there as possible to keep heating bills down and maintain a comfortable living environment. However, in their rush to achieve a higher R-value, they completely overlook one of the most critical components of a healthy, functioning roofing system. If you are planning to upgrade your home’s thermal barrier, understanding the essential role of baffles in attic spaces is absolutely crucial. Without them, your well-intentioned DIY insulation project could rapidly lead to severe moisture issues, rampant mold growth, and rotting structural wood. Over the years, countless home improvement forums have been flooded with confused homeowners asking the exact same questions about these mysterious plastic chutes. Let us take a comprehensive dive into the most common questions, concerns, and debates that property owners have about these vital ventilation components, and thoroughly explore why they are the unsung heroes of your home’s ecosystem.
The Core Purpose: Why Do You Need Them?
One of the most frequent questions popping up on internet construction boards is simply, “Do I really need to install these if I am just adding a few inches of fiberglass?” To the untrained eye, it seems completely counterintuitive to intentionally create open channels that allow freezing outside air to flow right past your thick, expensive thermal barrier. However, building science dictates that the goal of your upper storage space is not actually to be warm. In fact, it is meant to remain cold during the winter months and properly ventilated during the blistering summer heat.
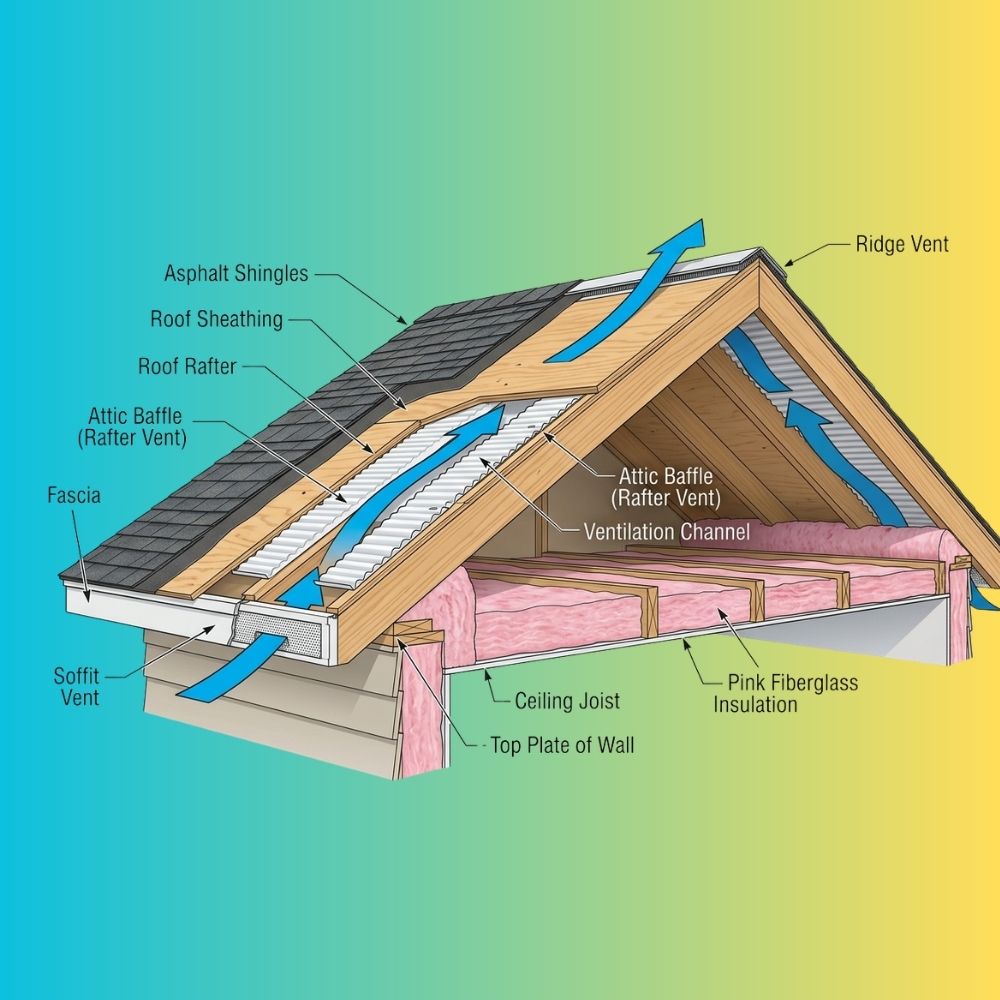
By installing baffles in attic enclosures, you create a dedicated, physically unobstructed channel that allows fresh air to continuously flow directly from the soffit vents located at the eaves, up along the underside of the bare roof deck, and finally out through the ridge vent positioned at the highest peak. These channels, which are frequently referred to as rafter vents, serve a vital dual purpose. Primarily, they prevent your blown-in or rolled batt materials from spilling over the edges and completely suffocating the soffit air intakes. If the soffits become blocked, the trapped, stagnant air leads to massive condensation problems. In the winter, the warm air naturally escaping from your heated living room melts the snow accumulated on your roof. This melted water runs down to the freezing eaves, creating highly destructive ice dams that can tear off gutters and push water beneath your shingles. Proper, continuous airflow is your absolute best defense against this structural nightmare.
Choosing the Right Materials: Plastics, Foams, and Cardboards
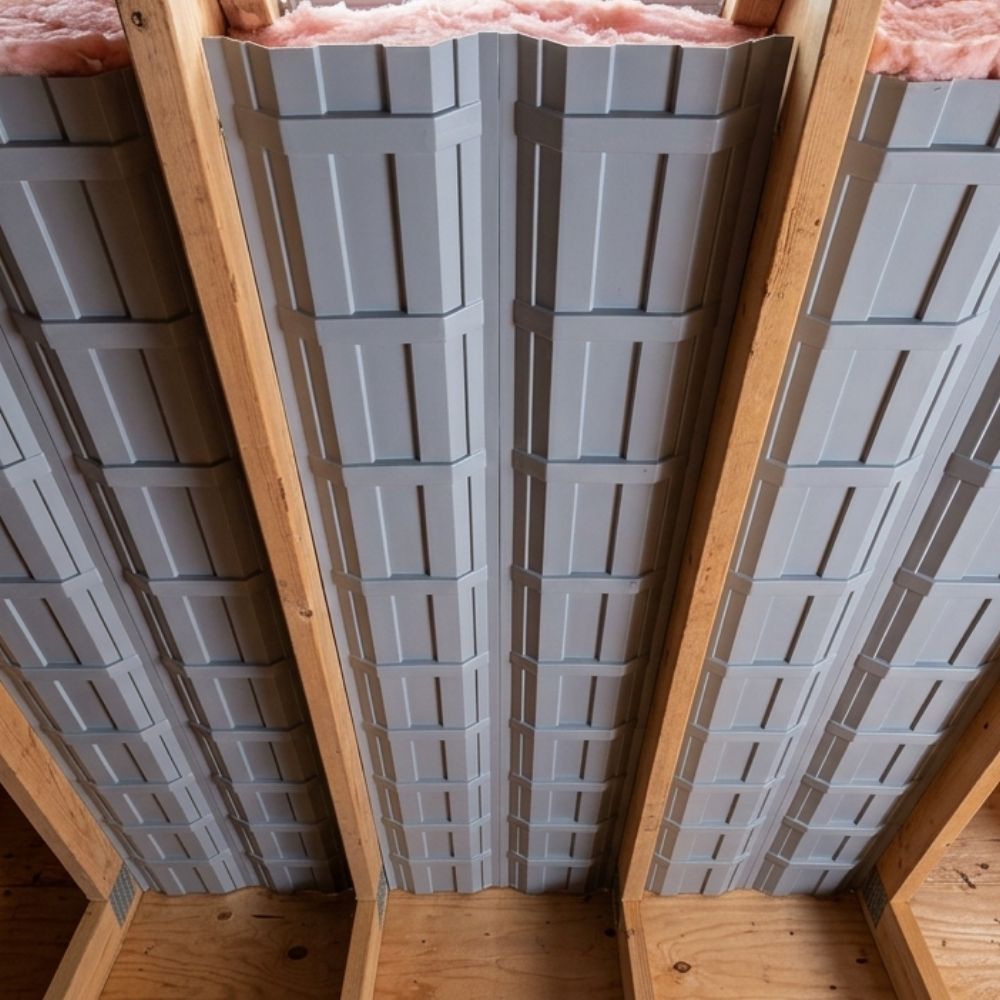
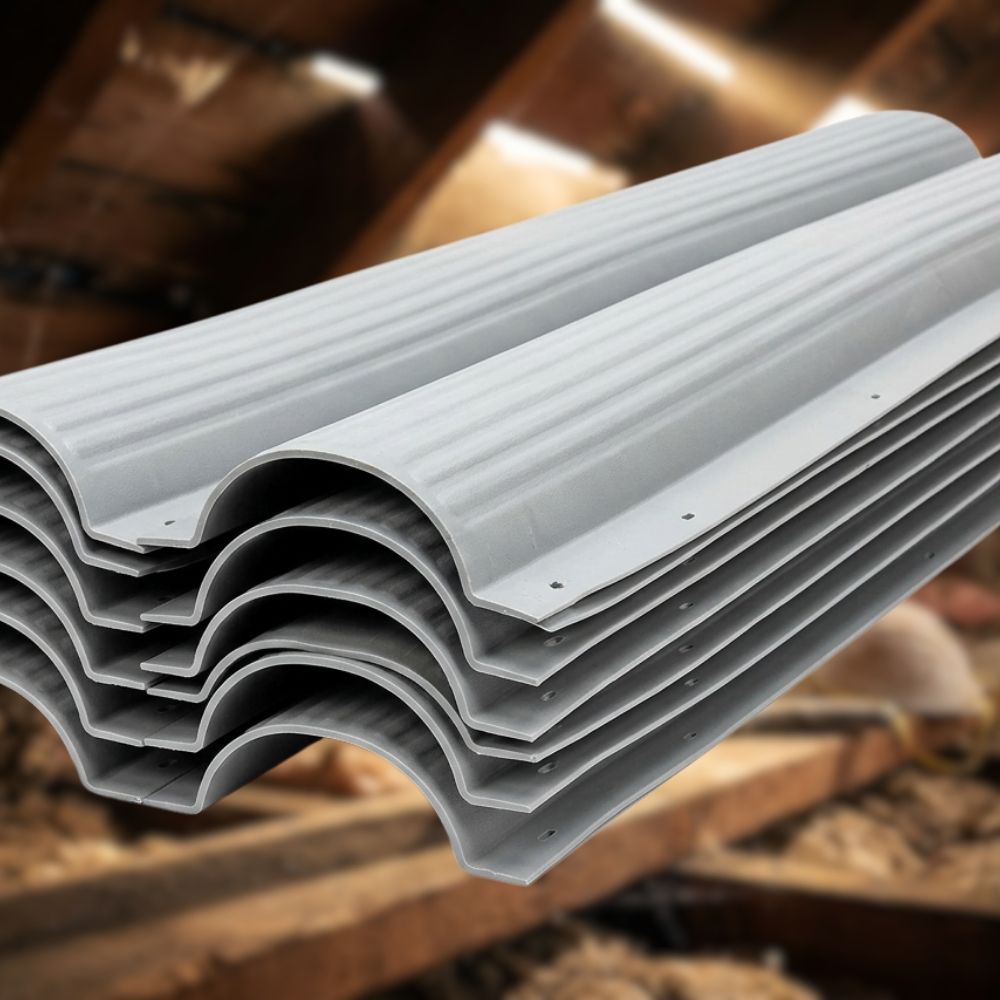
Once you understand their overwhelming importance, the next major hurdle is figuring out exactly which product to purchase at the hardware store. If you browse through various roofing discussion boards, you will instantly notice fierce debates about the absolute best materials for the job. Often, curious DIYers ask why they cannot just use a leftover flat sheet of plywood or a rigid foam board instead of buying specialized manufactured chutes. The answer lies specifically in the corrugated, meticulously engineered three-dimensional design of proper roof baffles. Their molded channels ensure that even if the insulation material gets heavily pressed against the underside of the roof deck, the air can still flow freely and uninterrupted through the built-in structural grooves.
Historically, some older residential builders utilized thin, cheap cardboard pieces to maintain this air gap. Consequently, a very common complaint from modern homeowners is discovering that their original contractor used thin cardboard chutes that have since absorbed heavy ambient moisture, sagged dramatically, and ultimately collapsed under the heavy weight of blown-in cellulose. When shopping for reliable insulation baffles, professional installers highly recommend sticking exclusively to extruded polystyrene (rigid foam) or durable polyvinyl chloride (PVC) plastic. These synthetic materials are completely impervious to moisture, will never rot or degrade over time, and hold their rigid shape for decades. Investing in quality synthetic materials ensures that your baffles in attic cavities remain wide open and functionally efficient long after the initial messy installation is complete.
Quantity and Spacing Dilemmas: How Many Are Required?
Another major point of immense confusion for amateur home renovators is the actual number of chutes required to properly ventilate a standard residential home. The absolute most repeated question online is: “Do I need to install one between every single wooden truss, or is it perfectly acceptable to place them every other truss to save time and money?” The correct answer depends slightly on your local municipal building codes and the total net free ventilating area mathematically required for your specific roof’s square footage, but the general consensus among modern roofing professionals remains incredibly clear and consistent.
For maximum thermal efficiency and optimal moisture control, you should install baffles in attic rafter bays continuously. This means placing one securely in every single bay that features a corresponding soffit vent directly below it. Furthermore, if your home features continuous, perforated aluminum soffit panels wrapping around the entire exterior perimeter, then you absolutely want to place rafter vents in every single available truss cavity. Skipping random bays creates dangerous dead zones where air instantly stagnates and moisture rapidly accumulates, inevitably leading to localized dark mold patches forming on the underside of your plywood roof decking. It is undeniably a highly labor-intensive process, but doing it correctly the first time prevents massive, expensive remediation headaches down the road.
The Physical Challenge of Installation: Navigating Tight Spaces
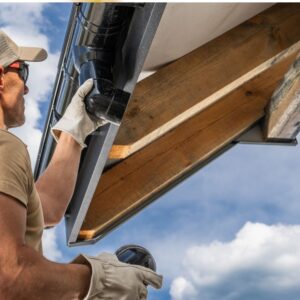
Let us address the most frustrating elephant in the room: actually getting these awkward chutes into their final position. The physical act of installing them is almost universally despised by homeowners and professionals alike. The specific space where the steep roof angle meets the exterior wall plate is incredibly cramped, aggressively dark, and typically filled with sharp roofing nails protruding dangerously downward. People constantly ask on forums with great exasperation, “How am I supposed to install these things when I physically cannot reach the eaves without getting wedged tightly between the joists?”
The unfortunate reality is that installing roof baffles in an existing, tightly-pitched home requires immense patience, physical flexibility, and a strategic approach. You cannot simply drop them from above and hope they land correctly; they need to be mechanically secured so they do not slide down and block the soffit entirely. Most seasoned professionals recommend using a long-reach manual staple gun or a compact pneumatic stapler. You must carefully slide the chute down the bay until it extends slightly out over the exterior wall plate, ensuring it creates a clear, protective bridge over the proposed insulation line. When positioning your baffles in attic eaves, it is highly recommended to lay down a sturdy, wide piece of plywood directly across the ceiling joists to safely distribute your body weight, drastically reducing the chances of accidentally stepping completely through the fragile drywall ceiling and into your living room below.
Rectifying Past Mistakes: Clearing Blocked Soffits
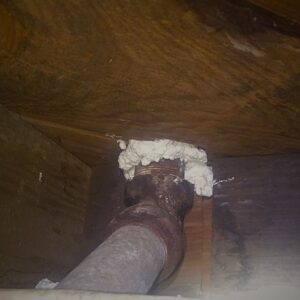
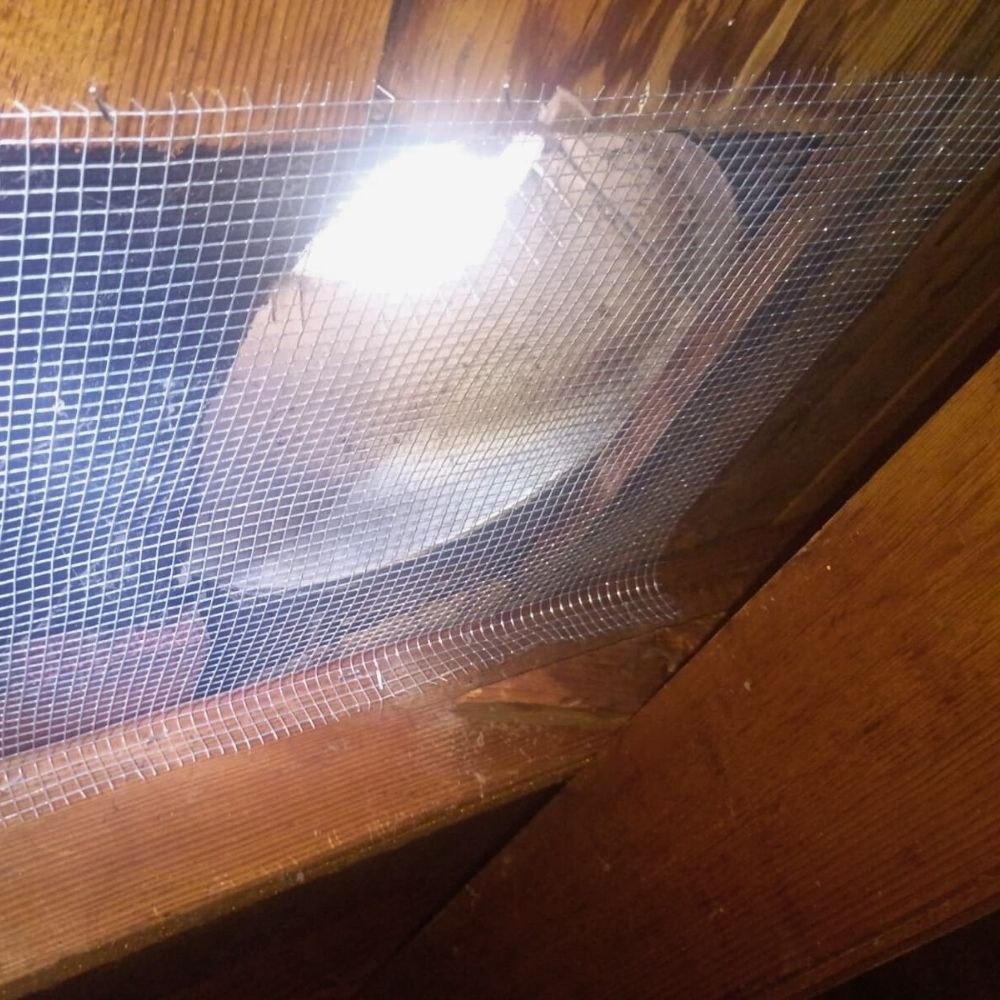
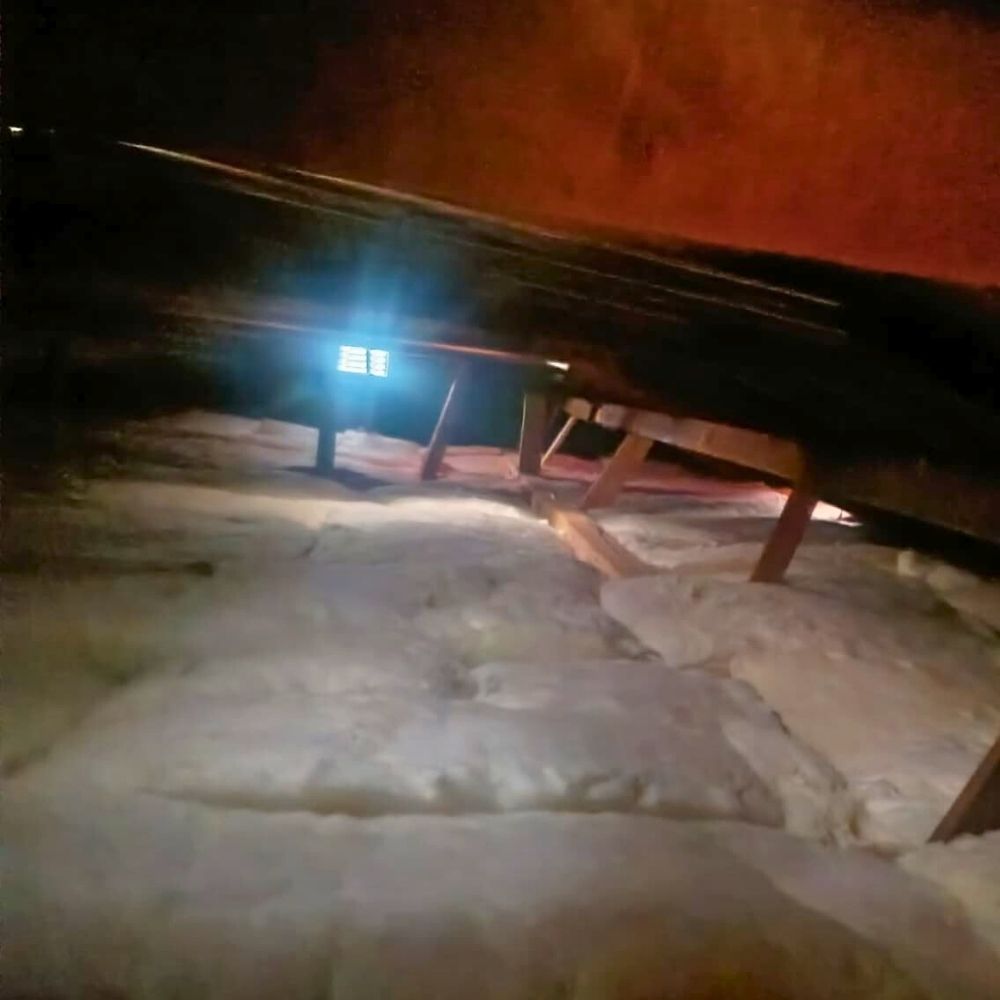
Many ambitious homeowners are not fortunate enough to be starting from a clean, empty slate; rather, they are desperately trying to fix a poorly executed insulation job from the past. A highly frequent and frustrating scenario involves a homeowner attempting to add more blown-in fiberglass to increase efficiency, only to shine a flashlight down the edges and realize the previous owner already completely buried the critical soffit vents. They frequently ask, “How do I safely clear the heavy blockage and insert proper insulation baffles without tearing down the drywall ceiling from the outside?”
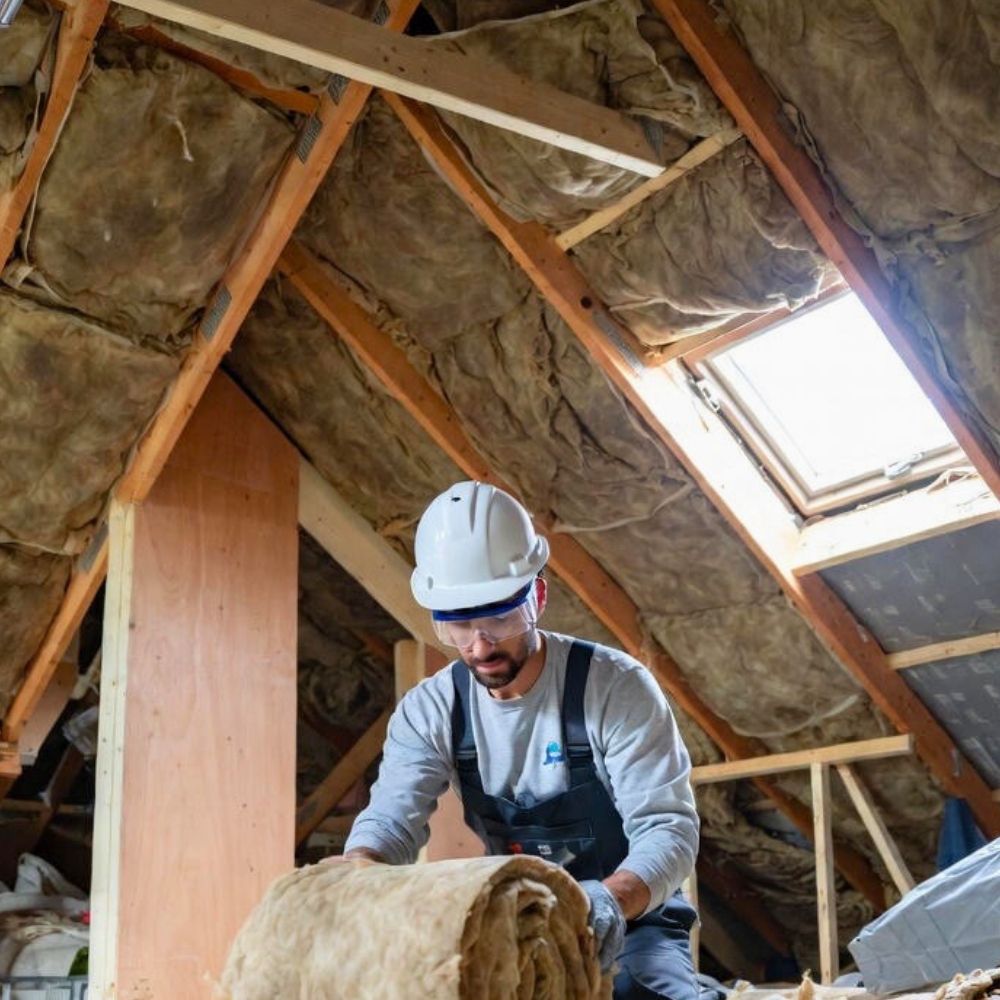
This corrective process requires creating a specialized, makeshift tool, often utilizing a long garden rake or a customized piece of lightweight PVC pipe. You must reach down into the tight, restrictive corners and meticulously pull the old, compacted, dirty material back toward the center of the walkable space. Once the soffit air intake is finally clear and you can actually see natural daylight shining through the eaves from the outside, you can proceed to gently slide the new plastic chute down into its rightful place. It is undeniably meticulous, intensely dirty work that absolutely requires wearing a high-quality particulate respirator, protective safety goggles, and a disposable hazardous material suit. However, properly retrofitting baffles in attic spaces is arguably the absolute highest return-on-investment activity you can possibly perform before blowing in thousands of dollars of brand-new thermal material.
Securing Your Home’s Long-Term Health
Upgrading your home’s thermal efficiency is a truly fantastic way to significantly lower your monthly energy bills and dramatically increase your family’s daily interior comfort. Nevertheless, that massive project must absolutely always start by securing the exterior perimeter ventilation. Understanding the fundamental mechanics of airflow, carefully choosing highly durable moisture-resistant materials, and bravely navigating the cramped corners to install your rafter vents correctly will actively protect your expensive roof deck for many decades to come. Take the necessary time to install your baffles in attic eaves properly, and you will never have to worry about winter ice dams or summer mold again. Proper ventilation is the true foundation of a healthy, energy-efficient home.