
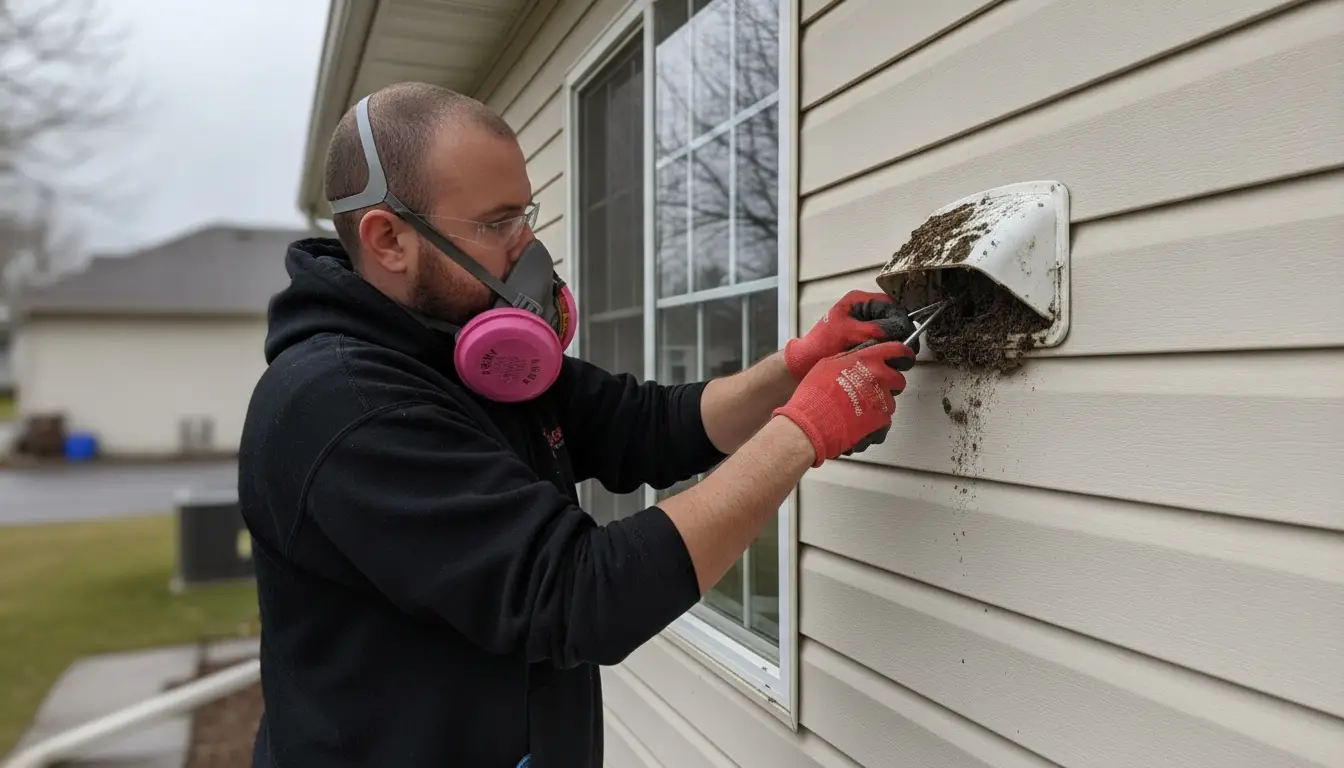
Most online tutorials on how to clean a dryer vent are hopelessly basic and frustratingly repetitive. They usually tell you to run to the hardware store, buy a cheap $20 nylon brush, shove it blindly into the wall, and call it a day. But after spending over a decade dissecting failed exhaust systems and fixing the disastrous aftermath of amateur DIY attempts, I can guarantee you that dragging a flimsy brush through a metal tube barely scratches the surface of the problem. The real danger to your home isn’t the fluffy, loose lint you can easily see near the lint trap; it is the dense, moisture-baked, calcified sludge hiding deep inside the blind 90-degree elbows of your ductwork. Today, we are completely bypassing the generic, entry-level advice. I am going to pull back the curtain and teach you the actual physics of laundry exhaust, reveal killer diagnostic tricks that professionals use to measure static pressure without expensive gauges, and share the specific assembly rules that separate a temporary fix from a permanent, fire-safe solution.
Why do standard DIY cleaning methods usually fail to clear the whole duct?
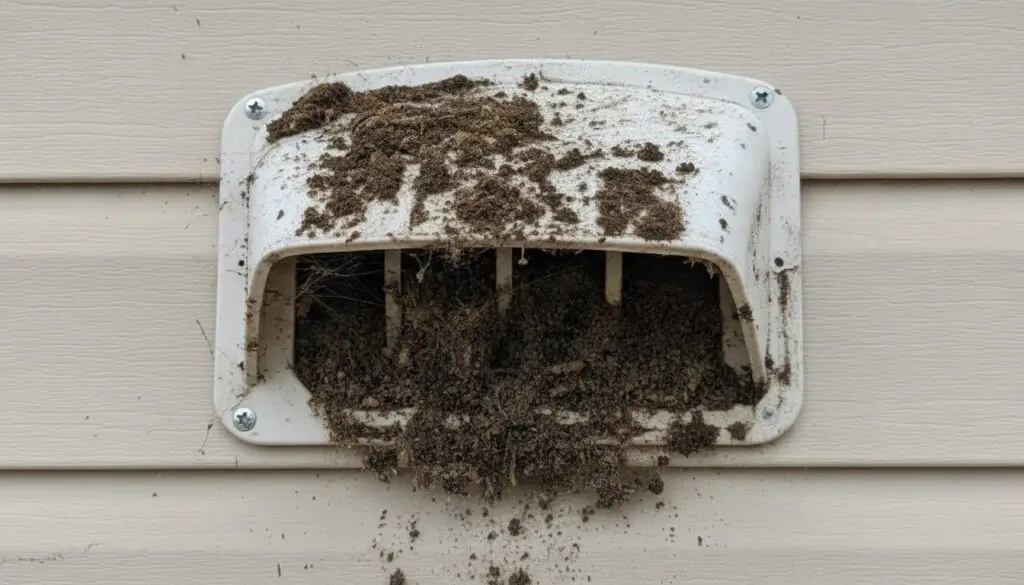
Standard DIY methods usually fail because amateurs blindly push brushes through the straightaways while ignoring the hidden 90-degree elbows, where thermal dynamics and moisture create rock-hard obstructions. Let me explain the physics of what is actually happening inside your walls. A modern dryer is designed to push approximately 150 to 200 Cubic Feet per Minute (CFM) of hot, incredibly humid air. When that high-velocity, moisture-laden air hits a 90-degree elbow in your ductwork, the air velocity temporarily drops. This drop in speed causes the heavy water vapor to condense on the metal walls, acting like a highly effective glue for microscopic cotton fibers and pet hair. I recently scoped a duct system where the straight pipes looked brand new, but the two concealed elbows were packed completely solid with what felt like grey concrete. When you simply push a cheap brush into the wall like a battering ram, you are often just compressing this wet sludge tighter into the bend, creating a more dangerous plug. To truly clean the system, you have to approach the blockage with rotational friction, not blunt force, allowing the bristles to physically shave the debris away from the galvanized metal.
What is the professional secret to chewing through compacted lint without getting stuck?
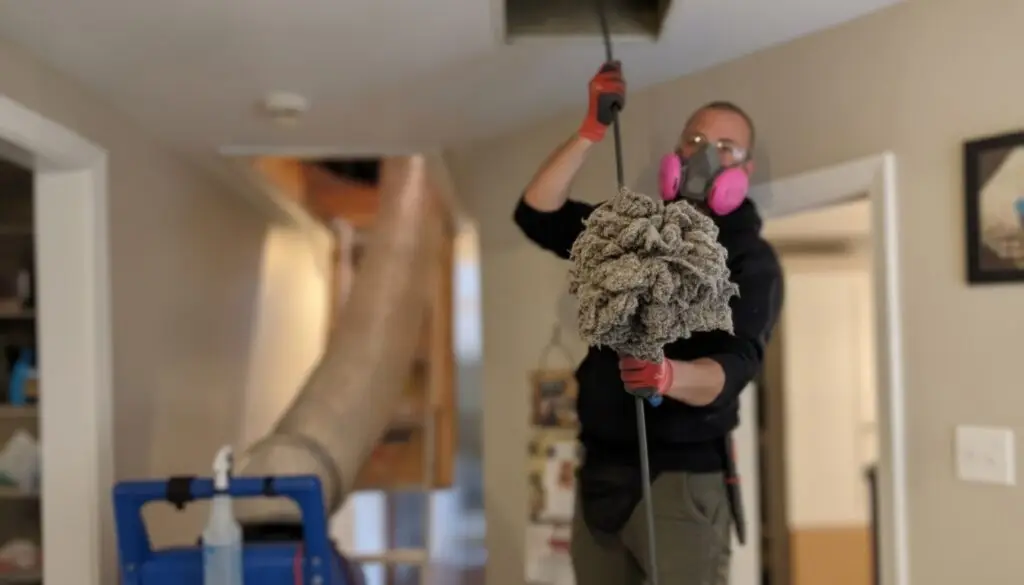
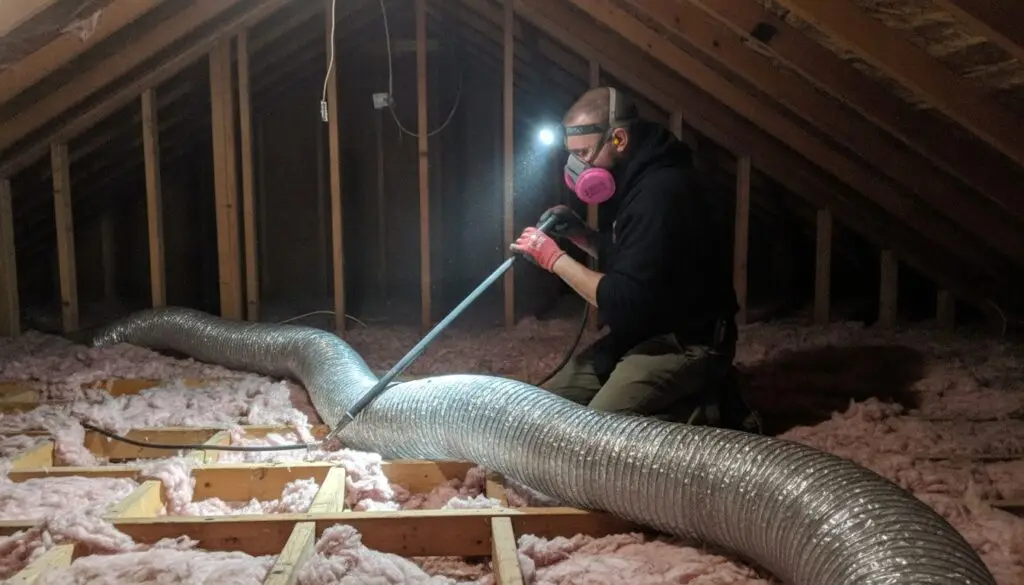
The professional secret to chewing through compacted lint is to maintain a constant clockwise drill rotation while actively pulling the brush backward, allowing the bristles to shave the blockage rather than compacting it further. This is a killer tip that saves DIYers hundreds of dollars in drywall repair. When you attach your flexible fiberglass rods to your cordless drill, you must tape every single connection point with electrical tape before inserting it into the wall. If the drill accidentally kicks into reverse (counter-clockwise), the torque will instantly unscrew the rods, leaving your brush head permanently stuck 15 feet inside your wall cavity. When you hit a hard restriction, do not push harder. Keep the drill spinning clockwise at a medium speed and slowly pull the rod backward toward you. This draws the loosened debris out of the pipe. For an elite-level hack, I recommend the “positive pressure blowout.” After you have aggressively brushed the line, take a cordless leaf blower, wrap a damp towel around the nozzle to create a seal against the interior wall duct, and blast it on full power for ten seconds. The immense positive pressure will launch the heavy, stubborn chunks of debris out of the exterior hood like a cannon, clearing material that a standard shop-vac simply doesn’t have the suction power to reach.
| Cleaning Approach & Equipment | Estimated Cost | Effectiveness & Key Advantage |
|---|---|---|
| Standard DIY (Basic Brush + Vacuum) | $25 – $40 | Clears straightaways but often compacts lint in elbows. High risk of brush detachment. |
| Advanced DIY (Taped Rods + Leaf Blower Hack) | $40 – $60 (if you own a blower) | Pro-level clearing power. The positive pressure blowout forces heavy, wet sludge out safely. |
| Professional Pneumatic Service | $150 – $275+ | Zero risk, uses 200 PSI reverse-blowing air whips to scour metal down to the bare galvanized steel. |
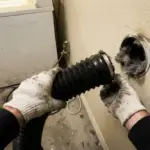
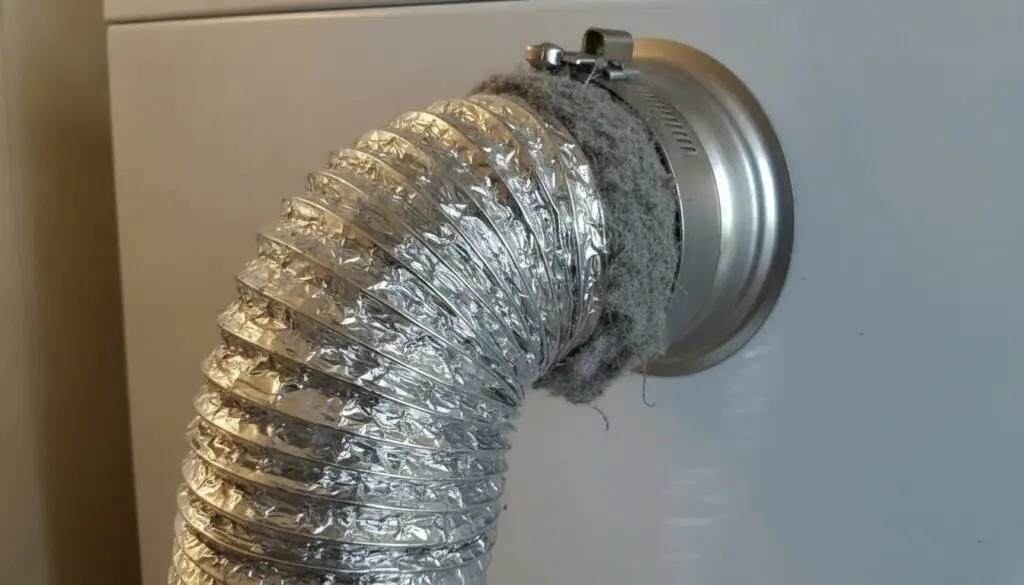
Here is an insider’s tip that will save you both money and headaches: Do not waste your cash on those flimsy, white vinyl accordion hoses to connect your dryer to the wall. They are illegal under most modern fire codes because they melt easily and their deep ridges trap massive amounts of lint. Spend an extra $15 on a smooth-walled, semi-rigid aluminum transition duct. It drastically reduces friction, which means your dryer won’t have to work as hard, and you won’t have to clean it as frequently.
How can I definitively measure my airflow without buying expensive digital tools?
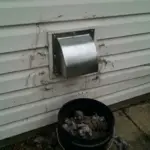
You can definitively measure your airflow without expensive tools by performing the DIY garbage bag inflation test at the exterior exhaust hood to visually calculate the cubic feet per minute. Professional technicians carry expensive digital vane anemometers to measure feet-per-minute velocity, but I am going to teach you a brilliant visual test that works just as well. Take a standard 13-gallon clear plastic kitchen trash bag and flatten all the air out of it. Go outside to your exterior vent hood, turn your dryer on its highest heat setting (make sure the drum is empty), and hold the opening of the trash bag tightly over the louvered vent. A clean, healthy duct pushing the required 150 CFM should inflate that 13-gallon bag until it is drum-tight in exactly one to two seconds. If it takes four, five, or six seconds for the bag to inflate, you mathematically still have a severe restriction inside the wall. I always perform this test before and after a cleaning. It provides undeniable, visual proof that your efforts actually restored the thermal highway of your home.
What is the biggest mechanical mistake people make when reassembling the ductwork?
The biggest mechanical mistake people make during reassembly is using standard sheet metal screws to connect the duct joints, which act like tiny spears inside the pipe that instantly catch passing hair and lint. This is the number one reason I get called out for repeat clogs. It seems logical to use a small screw to secure two pieces of pipe together, but inside a dryer exhaust, those screw threads protruding into the airstream are lethal. A single screw can snag a stray pet hair, which catches another hair, and within three months, you have a solid, golf-ball-sized knot blocking the line. Mechanical building codes dictate that you must exclusively use UL-listed aluminum foil tape to secure the joints. Furthermore, ensuring that your ductwork is perfectly sealed is critical for preventing moisture from escaping into your home’s infrastructure. If a disconnected or poorly taped joint exhausts humid air into a confined space for months, the resulting water damage will require professional mold remediation services to fix. If your system is too complex, involves a steep rooftop termination, or if you simply want the peace of mind that comes with pneumatic scouring, investing in a professional dryer vent cleaning service is the smartest move.
Ultimately, learning how to clean a dryer vent correctly is about much more than just pushing a brush into a hole. It is about understanding the thermal dynamics of your laundry system, respecting the dangers of static pressure, and executing the job with mechanical precision. By applying these insider secrets—from taping your fiberglass rods and utilizing positive pressure blowouts, to validating your work with the garbage bag test—you elevate yourself from a weekend tinkerer to a true master of your home’s maintenance. Don’t settle for halfway clean; use these pro strategies to ensure your appliance runs flawlessly, your energy bills stay low, and your home remains completely safe from hidden fire hazards.