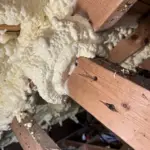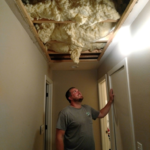
Your dryer vent cover is the only thing standing between your laundry room and birds, rodents, rain, and freezing winter air. After twenty years at Miller Attics dealing with ventilation problems, I’ve seen what happens when people ignore this four-inch piece of hardware. Mold in walls. Bird nests in ductwork. Dryers that take three cycles to dry a load because the vent is packed with lint and debris.
Let me walk you through everything you need to know about choosing, installing, and maintaining the right dryer vent cover for your home.
Why Your Dryer Vent Cover Outside Actually Matters
That little flap on the exterior of your house does three critical jobs:
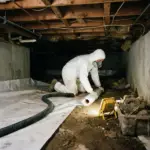
First, it keeps pests out. I’ve pulled dead birds, mice, and once—I’m not kidding—a squirrel family out of dryer vents. When your dryer vent cover outside fails or goes missing, animals see a warm tunnel leading into your house. They move in, build nests, and block your vent completely.
Second, it prevents backdraft. Wind blowing into an open vent pushes cold air, rain, and snow straight into your ductwork. That moisture condenses inside your walls, creating perfect conditions for mold growth. In winter, cold air flows backward through your dryer and into your laundry room, making your heating system work overtime.
Third, it allows proper airflow while blocking debris. Your dryer needs to exhaust 100-200 cubic feet of hot, moist air per minute. A damaged or wrong dryer vent cover restricts that airflow, making your dryer run longer, work harder, and potentially overheat. That’s a fire hazard and an energy bill problem.
Types of Dryer Vent Covers and What They Actually Cost
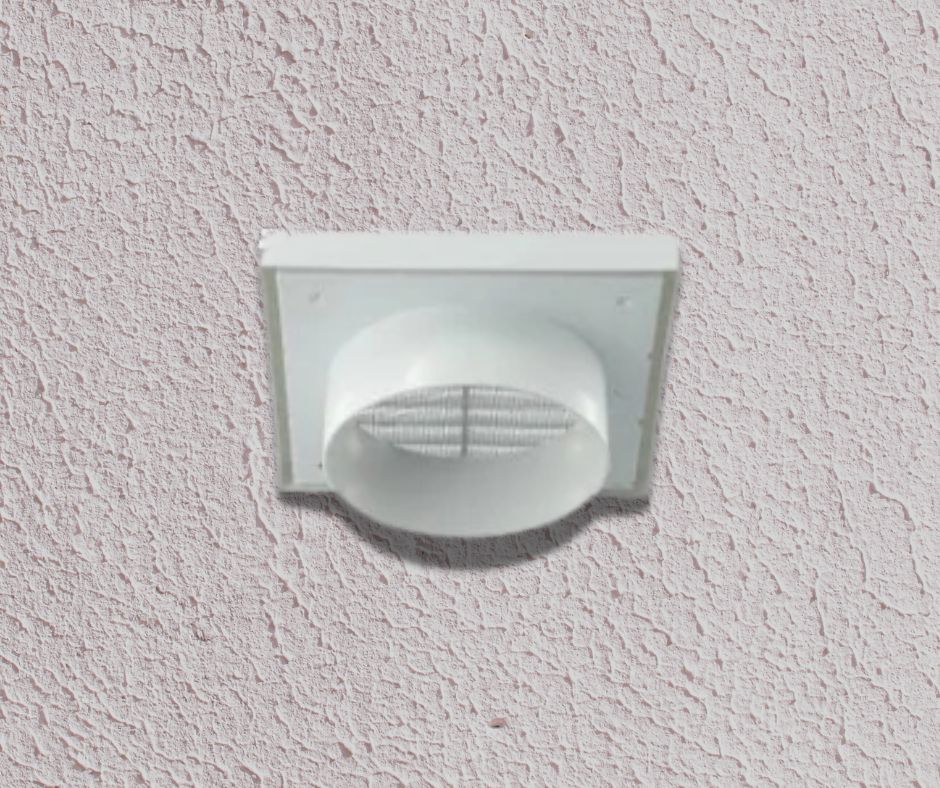
Louvered/Flapper Style Vent Covers – $8 to $25
The most common type. Two or four plastic or metal flaps that open when the dryer runs and close when it stops. Gravity keeps them shut.
Best for: Standard installations on vertical walls with no wind issues.
Problems: The flaps stick or break after 2-3 years. Lint buildup prevents them from closing completely. Wind can blow them open.
I replace more of these than any other type, usually because the plastic flaps crack in cold weather or the spring mechanism fails.
Magnetic Dryer Vent Covers – $15 to $40
Flaps with magnets that seal shut when the dryer isn’t running. Much tighter seal than standard flappers.
Best for: Windy locations, cold climates, and anyone tired of feeling cold drafts near their dryer.
Worth it? Yes. The extra $10-15 over basic flapper vents pays for itself in prevented drafts. These actually close and stay closed.
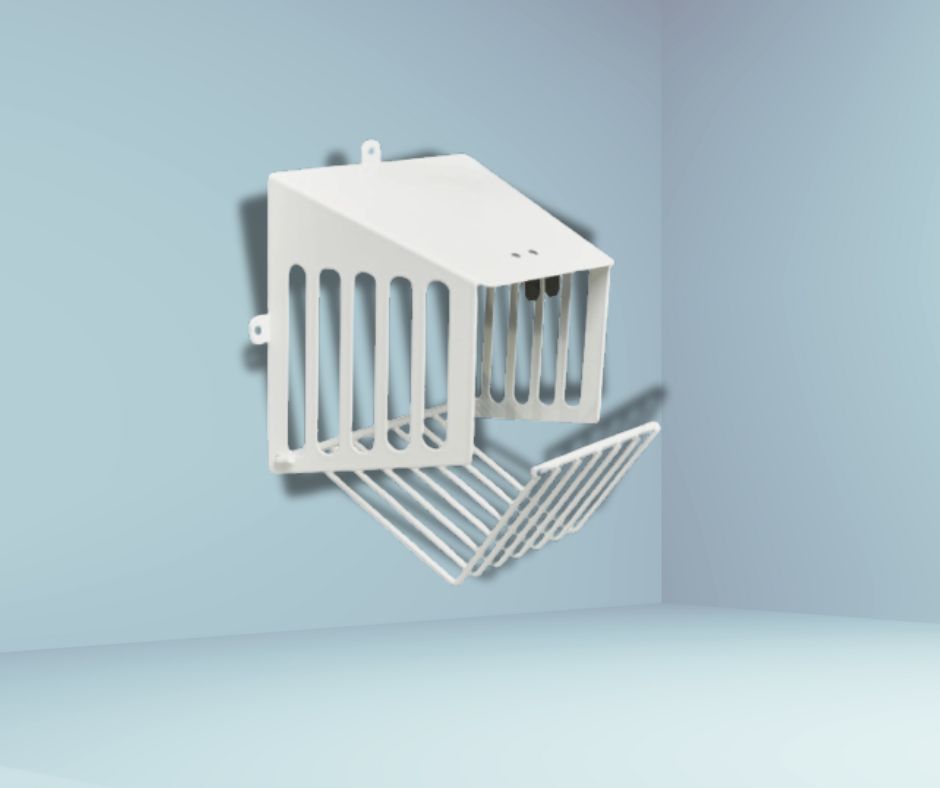
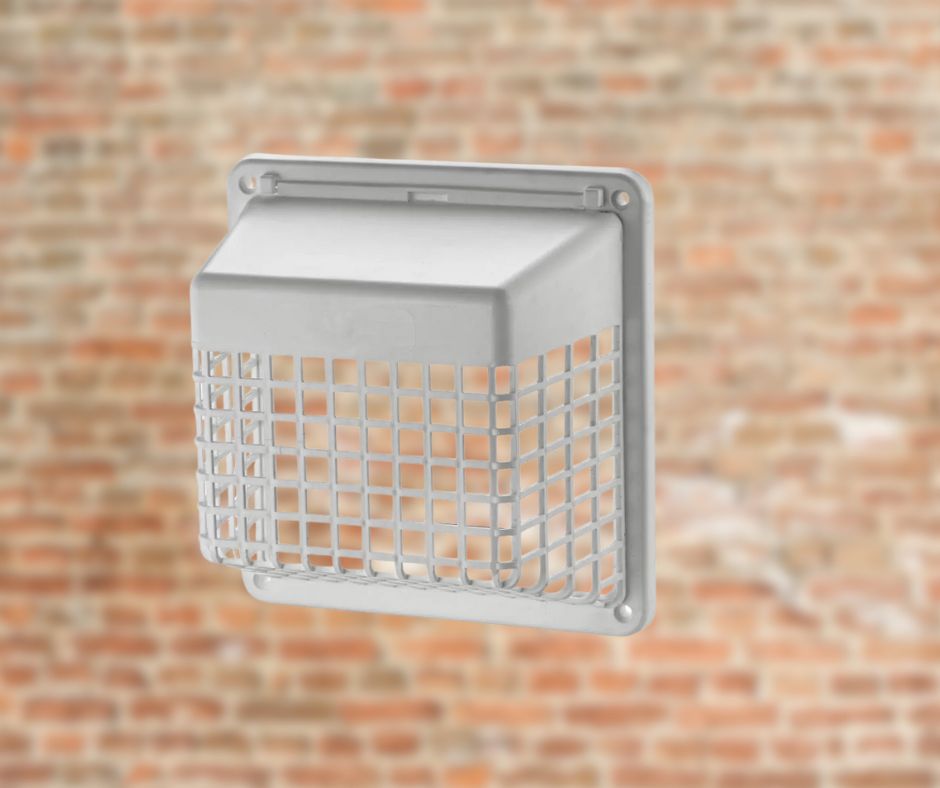
Pest-Proof/Bird Guard Vent Covers – $12 to $35
Features a cage or screen behind the flaps to block animals while allowing airflow.
Best for: Houses with previous pest problems, rural areas, anywhere birds are common.
Warning: The screen catches lint faster than open vents. You’ll need to clean it 3-4 times per year instead of annually. But that’s better than pulling a bird nest out of your ductwork.
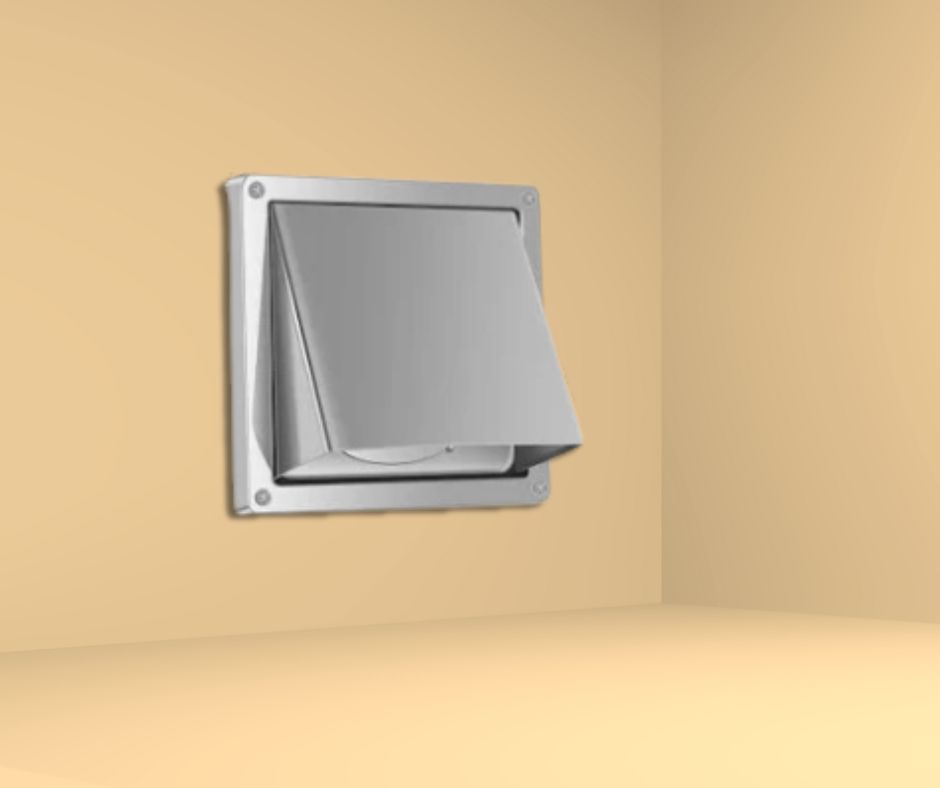
Recessed/Wall-Mount Boxes – $25 to $60
The vent terminates in a recessed box that sits flush with your siding. Cleaner look, better pest protection.
Best for: New construction, vinyl siding (where a flush mount looks better), and high-end homes where appearance matters.
Installation note: Requires cutting a larger hole than standard vents. Not a simple replacement—this is a remodel project.
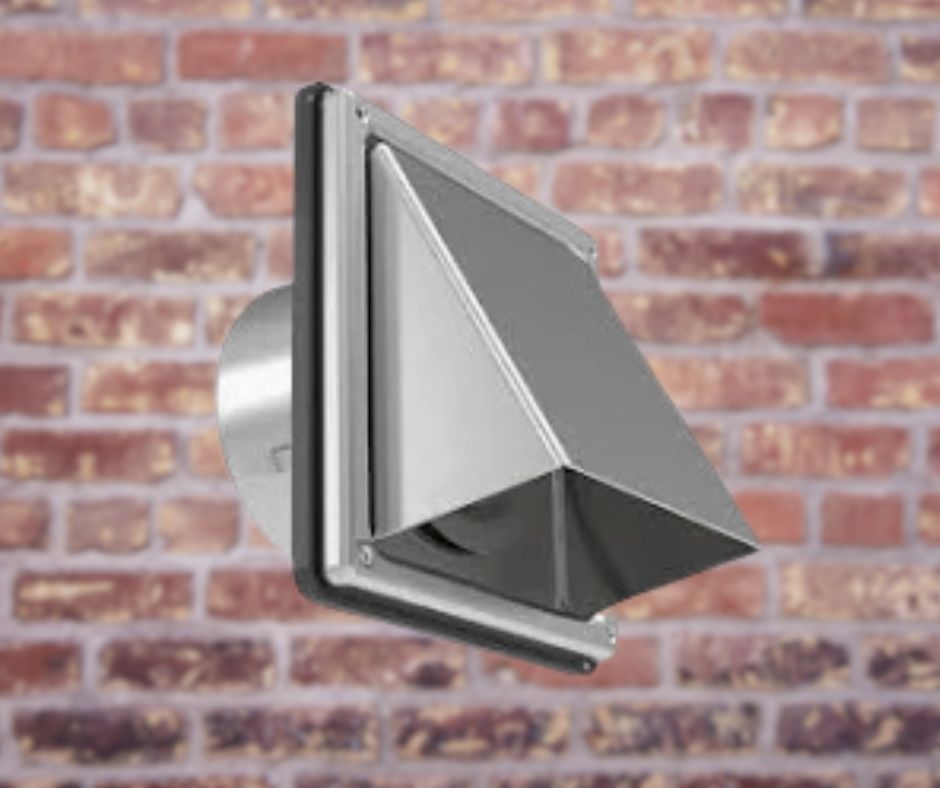
Heavy-Duty Metal Outdoor Dryer Vent Covers – $20 to $75
Commercial-grade aluminum or galvanized steel. Built to last 15-20 years.
Best for: Coastal areas (salt air destroys plastic), extreme climates, and anyone who doesn’t want to replace their vent cover every few years.
The price difference is real, but so is the lifespan. I’ve seen $12 plastic vents fail in 18 months. Quality metal vents last a decade or more.
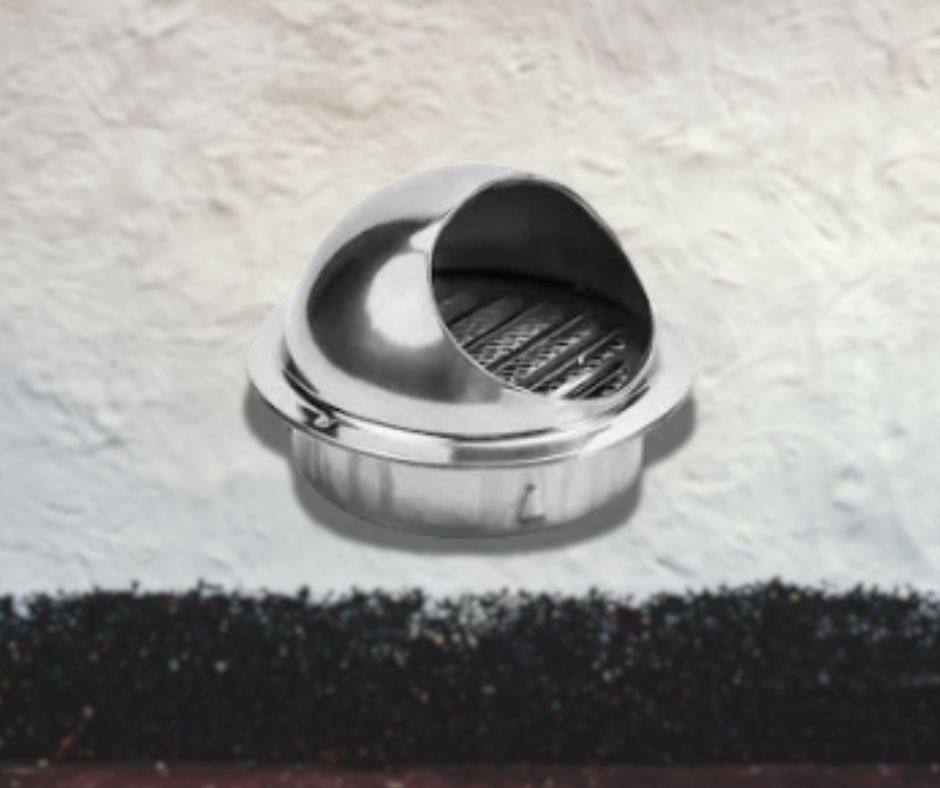
Roof-Mount Dryer Vent Covers – $30 to $80
Used when the dryer vents through the roof instead of a wall. Usually includes a hood and weather protection.
Best for: Situations where wall venting isn’t possible—apartments, condos, or houses where the dryer is on an interior wall.
Critical: These need more frequent maintenance. Lint buildup on a roof vent plus rain and snow creates a mess. Check it twice a year minimum.
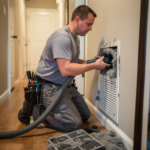
How to Replace Dryer Vent Cover: The Actual Process
Most people can replace a dryer vent cover in 15-30 minutes with basic tools. Here’s the real process:
What you need:
- New vent cover (measure your existing vent opening first—usually 4 inches)
- Screwdriver or drill
- Silicone caulk
- Five minutes of your time
Step 1: Remove the old cover
Unscrew the existing dryer vent cover outside. Most have 2-4 screws holding them to the siding. Sometimes they’re caulked in place—cut through the old caulk with a utility knife.
Pull the old vent straight out. Check the ductwork behind it. If you see lint buildup, vacuum it out now. If the duct itself is damaged or disconnected, fix that before installing the new cover.
Step 2: Clean the opening
Scrape off old caulk and dirt. The new cover needs a clean surface to seal properly.
Step 3: Test fit the new cover
Slide it into place without screwing it down. Make sure it sits flush against the siding and the flaps open freely. If it’s tight, the flaps won’t close properly and you’ll have draft problems.
Step 4: Caulk and secure
Run a bead of silicone caulk around the opening. Press the new cover into place. Screw it down tight. Add more caulk around the edges to seal any gaps.
Step 5: Test it
Run your dryer for five minutes. Go outside and make sure the flaps open fully while it’s running. After you shut off the dryer, verify the flaps close completely. If they don’t close, there’s lint buildup preventing it—clean it out.
That’s it. How to replace dryer vent cover sounds complicated but it’s genuinely one of the easiest home maintenance tasks. The hardest part is remembering to do it before the old one completely falls off.
Special Installation Situations
Vinyl or aluminum siding: Use a mounting block—a small plastic or vinyl piece that sits between the siding and the vent cover. This prevents crushing the siding and provides a flat mounting surface. They cost $8-15 and make the job look professional.
Brick or stucco: You’ll need masonry screws and a hammer drill. Takes longer but same basic process. The key is sealing properly—water can track behind the vent and into your wall if the caulk job is sloppy.
Too close to the ground: If your outdoor dryer vent cover sits within 12 inches of the ground, consider a periscope or offset vent box to raise it higher. Ground-level vents collect leaves, mulch, and snow. They also make it easier for rodents to access.
Angled installations: Some vents exit the house at an angle instead of perpendicular to the wall. You need an angled hood that matches your ductwork slope. Standard covers won’t seal properly on angled installations.
Maintenance: What Actually Needs to Be Done
Every 6 months: Go outside while the dryer runs. Watch the dryer vent cover. The flaps should open fully and hot air should blast out. If airflow is weak, you have a blockage somewhere in the duct.
Once a year: Unscrew the cover and inspect behind it. Vacuum out lint buildup. Check that the ductwork is still connected and sealed. Look for any damage to the duct itself—crushed sections or holes need fixing.
After storms: Check that the cover is still attached and the flaps aren’t damaged. High winds can rip off poorly installed covers or bend the flaps.
Signs you need to replace it immediately:
- Flaps don’t close (cold drafts, pests can enter)
- Visible cracks or rust holes
- Cover is loose or missing screws
- You can see daylight around the edges when it should be sealed
Why People Ignore This Until It’s a Problem
Because it’s outside, out of sight, and seems unimportant until something goes wrong. Then you’re dealing with:
- A dryer that takes 2-3 cycles to dry clothes (blocked vent)
- A $300 bill to remove a bird nest from your ductwork
- Mold growing in your walls from moisture backing up
- A potential fire hazard from lint accumulation
A quality dryer vent cover costs $15-40 and takes 20 minutes to install. Fixing the problems caused by not having one costs hundreds to thousands of dollars.
What to Buy for Your House
Standard installation, no special concerns: Magnetic flapper vent, aluminum construction. $20-30. Will last 5-7 years and seal properly.
Pest problems or rural area: Bird guard vent with magnetic closure. $25-35. Clean it 3-4 times per year.
Coastal or extreme weather: Heavy-duty metal vent with stainless steel or aluminum construction. $40-75. Worth it for the longevity.
New construction or remodel: Recessed wall box with pest guard. $50-60. Looks professional and solves multiple problems.
Don’t buy the cheapest plastic vent at the hardware store for $8. It’ll crack the first winter and you’ll be replacing it again next year. Spend $25 on something decent and forget about it for five years.
The Bottom Line
Your dryer vent cover outside is a small piece of hardware that prevents major problems. It keeps pests out, moisture out, and cold air out. It allows your dryer to work efficiently and safely. And it costs less than a tank of gas to buy and install properly.
Check yours this weekend. If it’s damaged, missing, or just cheap plastic that’s falling apart, replace it. If you can’t remember the last time you cleaned it, unscrew it and vacuum out the lint buildup.
Twenty minutes of work now saves you from expensive problems later. That’s not dramatic—that’s just how home maintenance works.
Visual Guide: Dryer Vent Cover Types I Described
Here are the dryer vent cover types discussed in this article:
1. Louvered/Flapper Style Vent Cover
┌─────────────────┐
│    ╱╲    ╱╲     │  ← Two or four flaps
│   ╱  ╲  ╱  ╲    │    that open outward
│  │    ││    │   │    when dryer runs
│  └────┘└────┘   │
└─────────────────┘
Most common type ($8-25)
Plastic or metal flaps
2. Magnetic Dryer Vent Cover
┌─────────────────┐
│  [MAGNET] ╱╲    │  ← Magnets on flaps
│          ╱  ╲   │    create tight seal
│    [MAGNET] │   │    when closed
│          └──┘   │
└─────────────────┘
Better seal ($15-40)
Prevents drafts
3. Pest-Proof/Bird Guard Vent
┌─────────────────┐
│   ╱╲  ║║║║║     │  ← Screen/cage behind
│  ╱  ╲ ║║║║║     │    flaps blocks pests
│ │    │║║║║║     │    while allowing air
│ └────┘║║║║║     │
└─────────────────┘
Bird/rodent protection ($12-35)
Needs frequent cleaning
4. Recessed/Wall-Mount Box
┌──[SIDING]─────┐
│ ┌───────────┐ │  ← Flush-mount box
│ │   ╱╲      │ │    sits inside wall
│ │  ╱  ╲     │ │    Clean appearance
│ │ │    │    │ │
│ └───────────┘ │
└───────────────┘
Premium look ($25-60)
Requires larger opening
5. Heavy-Duty Metal Outdoor Cover
┌─────────────────┐
│ ╔═══╗  ╔═══╗   │  ← Thick aluminum
│ ║   ║  ║   ║   │    or galvanized steel
│ ║   ║  ║   ║   │    15-20 year lifespan
│ ╚═══╝  ╚═══╝   │
└─────────────────┘
Commercial grade ($20-75)
Coastal/extreme weather
6. Roof-Mount Dryer Vent Hood
    ┌──────┐
   ╱│ HOOD │╲      ← Weather hood
  ╱ │  ╱╲  │ ╲       protects opening
 │  │ ╱  ╲ │  │      from rain/snow
 │  │└────┘│  │
 └──────────────┘
Roof installations ($30-80)
Needs frequent maintenance
Each type serves specific situations. Choose based on your climate, pest concerns, budget, and how much maintenance you’re willing to do.